Managing Notifications Tiles (Raw Dashboards)
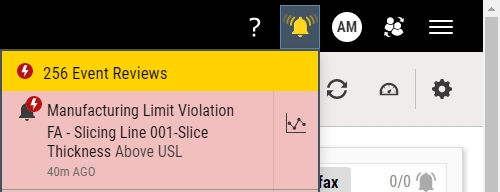
The Notifications tile displays the event notifications assigned to you, including missed data collections, manufacturing limit violations (net content control and specification limit), or statistical violations. For more information about notifications, please see Notification Rules.
When you select the parameter set on the dashboard, it will not affect the contents of this tile. Enact indicates this tile is only affected by process responsibility by a black bar across the top. For more information about process responsibility, please see Selecting My Processes.
New notifications
You can now see the status of your items directly on the Notifications tile.
-
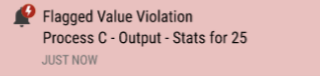
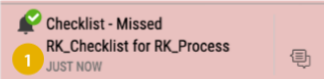
Events with workflows have a thunderbolt icon. Once the workflow is complete, the event will be shown with a green check icon on the Notification tile.
-
-
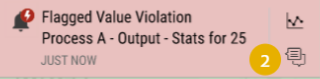
If an action has been taken on an event such as a comment, code, or camera action, the event will have the action icon displayed on it in the lower right of the tile. This icon will remain even when workflow is completed.
-
-
Events without workflows will also have the action icon displayed when an action is taken on that event.
Notification Tile
-
In the raw dashboard toolbar, select Add Tile.
-
In the tile selection dialog box, select the Notifications tile.
-
In the Notifications tile, you can do the following:
-
Using this procedure, you can open a control chart for the data stream with a quality violation event notification. This includes specification limit violations and statistical violations, but not compliance violations, like late or missed checks.
-
In the Notifications tile, locate the desired event notification.
-
In the event notification, select Control Chart. For more information, please see Managing Control Charts.
If you open the control chart from a raw dashboard with a parameter set using a time criteria of Dynamic: Current or Dynamic: Latest, Enact plots the control chart using the parameter set's time frame. Otherwise, Enact plots the last 14 days of data. For more information, please see Creating Parameter Sets.
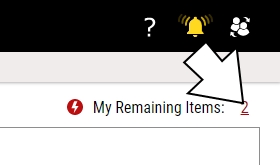
You can select Control Chart through the notification bell, which displays a ringing animation if there are events that you can close.
If you receive emails for event notifications, the email will include a View Control Chart button, which opens the control chart for the quality violation event notification. For more information, please see Notifications Tab in Configuring User Settings.
-
-
Using this procedure, you can close events assigned to you through workflows by selecting required event codes and comments.
For more information about workflows, please see Workflows.
-
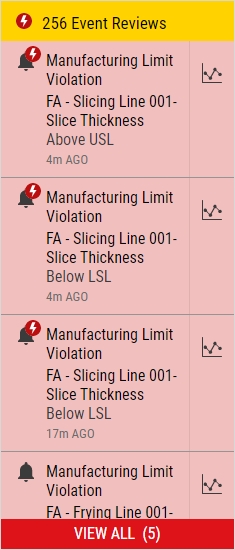
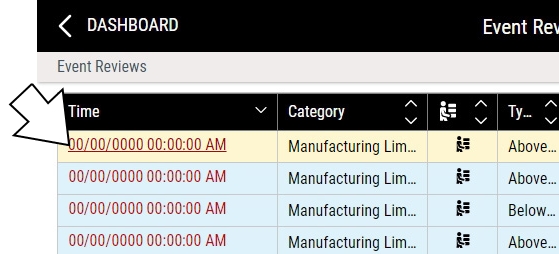
In the Notifications tile, select the Event Reviews banner, which displays the count of required event reviews.
If Enact displays the count in two parts (for example, 3 | 5 Event Reviews), you will be able to close all five event reviews, but: Three event reviews are within your responsibility: they are assigned to you (possibly through your role), the workflow's process resides in your access level, and you have selected the workflow's process in My Processes.Two event reviews are outside of your responsibility: while they are assigned to you and the workflow's process resides in your access level, you have not selected the workflow's process in My Processes. For more information, please see Selecting My Processes
You can also select the Event Reviews banner through the notification bell, which displays a ringing animation if there are events that you can close.

The Late Event Type, will display the respective part and lot details associated with the late event on the Event Review page, as long as there is only a single part and lot associated with the late event. If multiple parts/lots are associated with the late event, or there is no lot associated with the event, Enact displays "-".
-
To manage event codes and comments, do the following:
-
Select the timestamp in the Time column for the desired process event.
-
-
In the Event Details page, do the following:
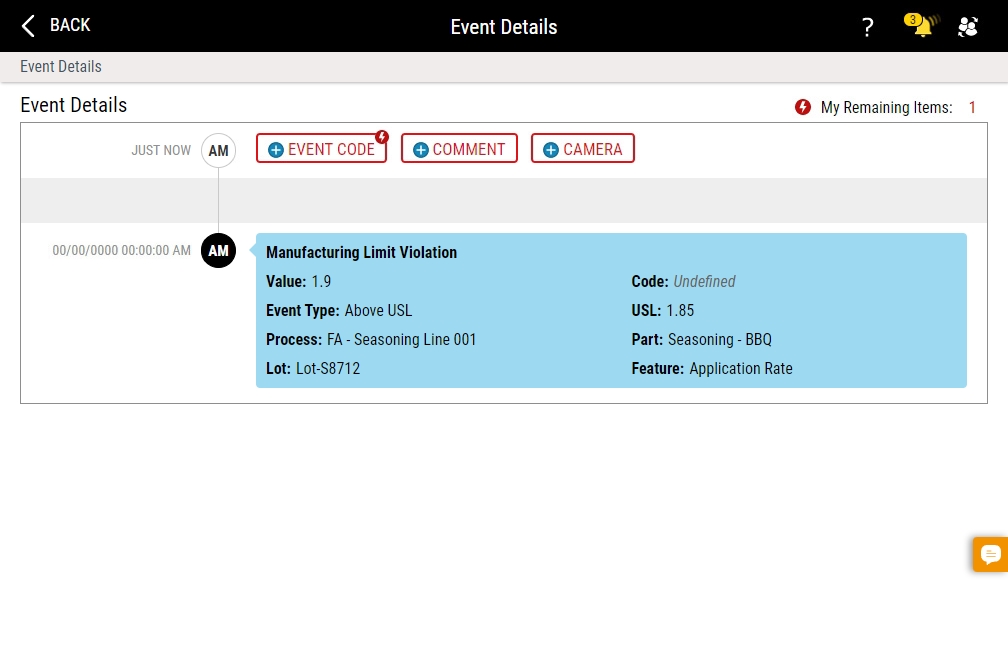
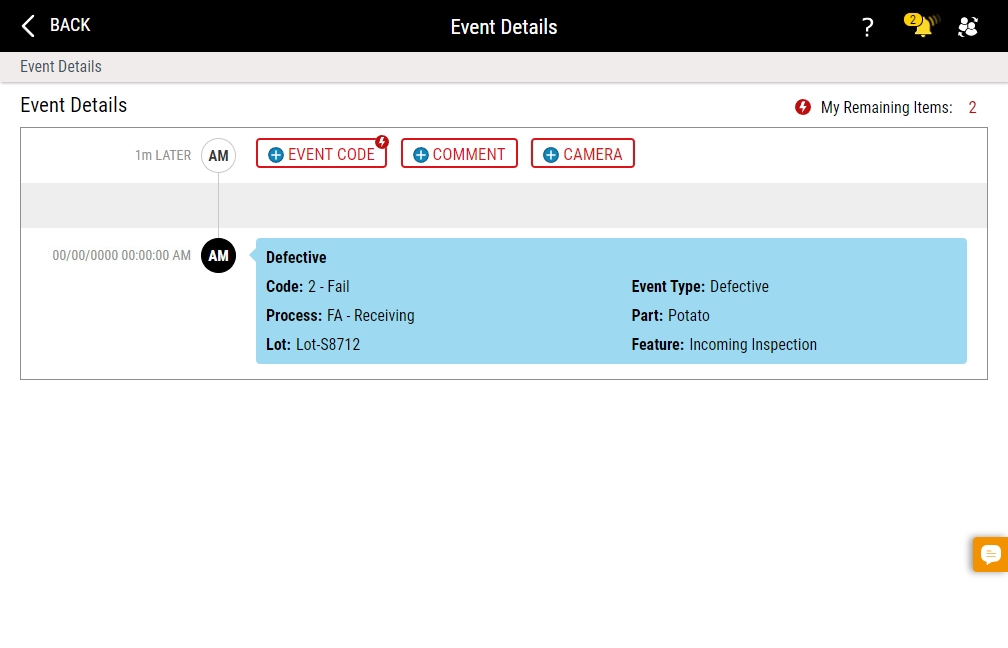
Enact highlights required items with a lightning bolt icon on the Event Code or Comment button.
In the Code data field, Enact displays the selected defective or variable code (if available). If the code was not selected or later deleted, Enact displays Undefined.
-
To add an event code, select Event Code, select the code type (if necessary), and then select the desired event code.
-
To add an event comment, select Comment, type the comment, and then select Add.
-
Using your device's camera through the browser running
Enact, you can capture a photo and add that image to the event timeline following the steps below. Please see the Reference: Supported Browsers before continuing.
-
Select Camera.
If you don't see Camera, you must configure the workflow associated with the event, selecting and dragging Reorder for the Camera item from the Not Allowed category to the Required or Optional categories. For more information, please see Creating Workflows. If Camera is grayed out and inactive, your camera is disconnected from your device or inaccessible from your browser.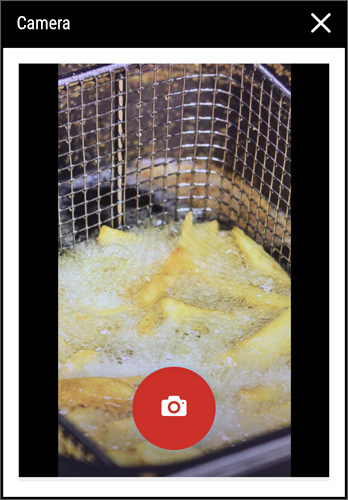
-
Aim your device's camera at the desired subject and then select the Camera button.
-
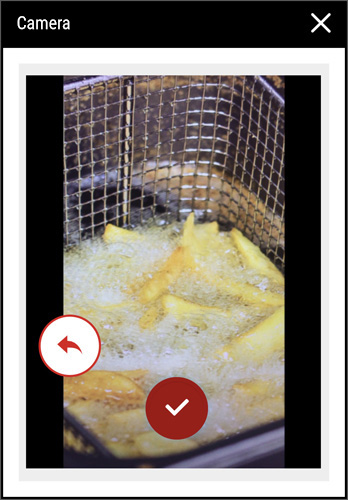
To confirm the photo, select Done.
To retake the photo, select Retake.If you capture a photo for a checklist question, you must also select a response for that question.
-
To view an existing photo, select More and then select View Image.
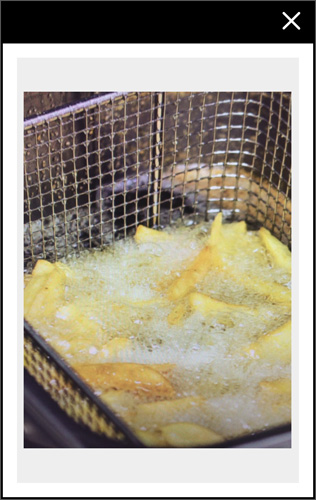
In the enlarged photo, you can zoom as follows:
-
On a device with an attached keyboard, select the image and then press + (plus) to zoom in and press - (minus) to zoom out.
-
On a device that supports pinch-to-zoom, pinch out to zoom in and pinch in to zoom out.
-
-
To remove an existing photo, select More and then select Remove Image.
-
To hide comments, activate the Show Comments slider.
To show hidden comments, deactivate the Show Comments slider. -
To view the remaining required items for this event, select the My Remaining Items counter.
 Select Back.
-
- To perform bulk even response from the Event Review page, do the following:
Using the check boxes beside every event review row on the Event Review Landing page, you may check/uncheck an event review action button one by one.
These action buttons are similar to those found on the Event Detail page and are as follows: Event Code, Comment, and Camera.
You can assign one of these actions to a selected event review using the check boxes to select an event review for assignment.
Only 200 event reviews can be selected for bulk action at a time. Currently selected event reviews can be unchecked to free up space for selecting other event reviews.
If no event reviews are checked, then the action buttons will be grayed out and unselectable.
Once a bulk action is recorded for all selected event reviews, the page will automatically refresh and display the checked event reviews in an unchecked state.
User inputs will be processed and updated per the workflow(s) configured for each event review.
Once the user input has been successfully processed, the my item count will be updated for the selected events but only if the input falls within the required category of the event workflow.
-


To use the filters on the Event Review page, note the following:
-
Time - The user can choose the time and date to view the event reviews as per their requirement.
-
Category- this will be a dropdown field (containing the category of violation)
-
Feature- this will be a search as you type field where the user can filter out event reviews using feature names.
-
Type- this will be a dropdown field (containing the type of violation)
-
Process- this will be a search as you type field where the user can filter out event reviews using the process names.
-
Part- this will be a search as you type field where the user can filter out event reviews using part names.
-
Lot- this will be a search as you type field where the user can filter out event reviews using the lot names.
-
User- this will be a search as you type field where the user can filter out event reviews using the name of the user.
Filters will not be pre-applied on the event review landing page. The Type field will be frozen until a Category is selected for an event. The Category field is checked by default and is not unselectable by the user.
Using this procedure, you can assign event codes (for example, Power Failure or Bent Bit) and attach comments.
To create new event codes, please see Managing Event Codes.
-
In the Notifications tile, select the desired process event.
-
In the Event Details page, do the following:
Enact highlights required items with a lightning bolt icon on the Event Code or Comment button.
In the Code data field, Enact displays the selected defective or variable code (if available). If the code was not selected or later deleted, Enact displays Undefined.
-
To add an event code, select Event Code, select the code type (if necessary), and then select the desired event code.
-
To add an event comment, select Comment, type the comment, and then select Add.
-
Using your device's camera through the browser running
Enact, you can capture a photo and add that image to the event timeline following the steps below. Please see the Reference: Supported Browsers before continuing.
-
Select Camera.
If you don't see Camera, you must configure the workflow associated with the event, selecting and dragging Reorder for the Camera item from the Not Allowed category to the Required or Optional categories. For more information, please see Creating Workflows. If Camera is grayed out and inactive, your camera is disconnected from your device or inaccessible from your browser.
-
Aim your device's camera at the desired subject and then select the Camera button.
-
To confirm the photo, select Done.
To retake the photo, select Retake.If you capture a photo for a checklist question, you must also select a response for that question.
-
To view an existing photo, select More and then select View Image.
In the enlarged photo, you can zoom as follows:
-
On a device with an attached keyboard, select the image and then press + (plus) to zoom in and press - (minus) to zoom out.
-
On a device that supports pinch-to-zoom, pinch out to zoom in and pinch in to zoom out.
-
-
To remove an existing photo, select More and then select Remove Image.
-
To hide comments, activate the Show Comments slider.
To show hidden comments, deactivate the Show Comments slider. -
To view the remaining required items for this event, select the My Remaining Items counter.
-
Select Back.
-
-
Managing Notifications
Using this procedure, you can view all of the notifications assigned to you.
-
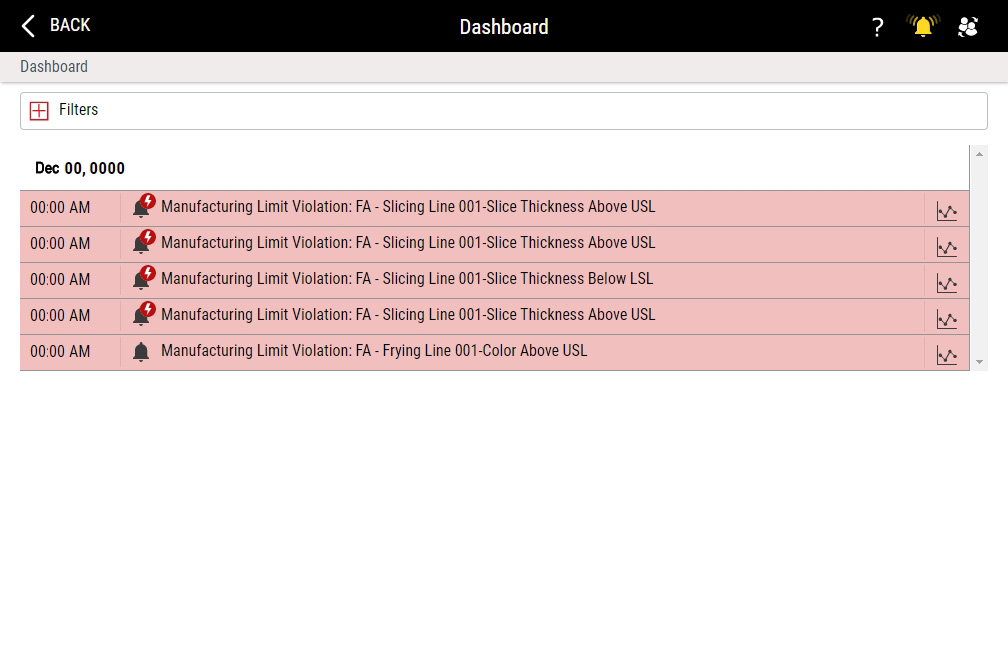
In the Notifications tile, select View All (#).
-
In the Notifications landing page, review all of the notifications, organized by date and time.
-
To control the processes that Enact displays on the Notifications landing page, do the following:
-
Select Filters.
-
In the Filters section, you can do the following:
Applying Filters-
Select one or more of the following filters and then select Search.
-
Notification Category. Select the desired notification categories. To locate the desired notification category, begin typing a string within the notification category. For example, to locate Category Name, you can type cat or you can type cal.
-
Type. Select the desired notification category types. To locate the desired notification type, begin typing a string within the notification type. For example, to locate Type Name, you can type typ or you can type cal.
-
From. In the From data field, select Calendar and select the desired notification start date, and then select Time and select the desired notification start time.
-
To. In the To data field, select Calendar and select the desired notification end date, and then select Time and select the desired notification end time.
Clearing Filters
Clear all filters currently applied to the Notifications landing page. -
-
To collapse the Filters section, select Filters.
-
-
Removing Tiles
Using this procedure, you will remove the Notifications tile.
-
In the unlocked dashboard, locate the Notifications tile.
For more information, please see Locking/Unlocking Dashboards.
-
In the Notifications tile, select More and then select Remove Tile.
-
Select Save.
-
-
-


Reference: Supported Browsers
-
Google Chrome
-
Windows/Android. Camera access supported
-
iOS. Camera access NOT supported.
-
-
Microsoft Edge
-
Windows/Android. Camera access supported.
-
iOS. Camera access NOT supported.
-
-
Apple Safari
-
Windows/Android. Camera access NOT supported.
-
iOS. Camera access supported.
-