Creating Control Limits
Using this procedure, you will create the control limit.
Enact automatically updates control limits every 10 minutes, which means there will be a slight delay before you see recent changes.
-
Select Access Menu and then select Analysis | Control Limits.
-
In the Control Limits landing page, select Create Control Limit.

To create control limits for a selection of data streams, select Bulk Create Control Limits. For more information, please see Creating Control Limits (Bulk).
- In the Part Name drop-down list, select the desired part. Hint

- In the Process Name drop-down list, select the desired process. Hint
- In the Feature Name drop-down list, select the desired feature. Hint
-
To create a new control limit entry, select Limit. In the Assign Limit dialog box, do the following:
-
Select Select data point. Enact automatically sets the Effective From date to NOW, and also sets the Process Sigma, Process Mean, and, if applicable, Within Piece Sigma data fields, based on the most recent 50 plot points. Enact ignores all unreasonable values.
If you have already defined control limits, Enact only considers the plot points since the last control limits became effective. For example, if you have 600 plot points and you calculate control limits today, Enact uses the last 50 plot points. If you then collect three more plot points and calculate new control limits, Enact will only use those last three plot points.
If Select data point is disabled, Enact contains no data for the selected part-process-feature combination.
- (Optional) In the Effective From column, select Calendar and select the desired effective date, and then select Time and select the desired effective time.
- (Optional) In the Process Sigma column, type the desired process sigma.
- (Optional) In the Process Mean column, type the desired process mean.
- (Optional) In the Within Piece Sigma column, type the desired within-piece sigma.
-
In the Rule Template drop-down list, select the desired rule template. Hint
For more information, please see Creating Rule Templates. - In the Processing Template drop-down list, select the desired processing template. Hint For more information, please see Creating Processing Templates.
- Select Save.
-
-
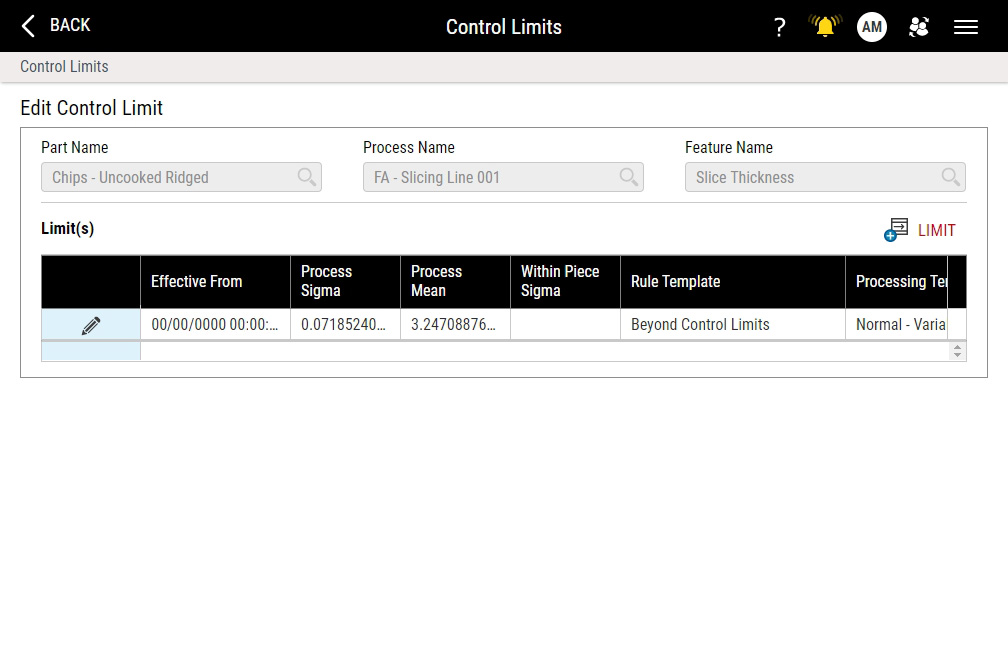
To edit an existing control limit entry, select Edit. In the Assign Limit dialog box, do the following:
- (Optional) In the Effective From column, select Calendar and select the desired effective date, and then select Time and select the desired effective time.
- (Optional) In the Process Sigma column, type the desired process sigma.
- (Optional) In the Process Mean column, type the desired process mean.
- (Optional) In the Within Piece Sigma column, type the desired within-piece sigma.
-
In the Rule Template drop-down list, select the desired rule template. Hint
For more information, please see Creating Rule Templates. - In the Processing Template drop-down list, select the desired processing template. Hint For more information, please see Creating Processing Templates.
- Select Save.
-
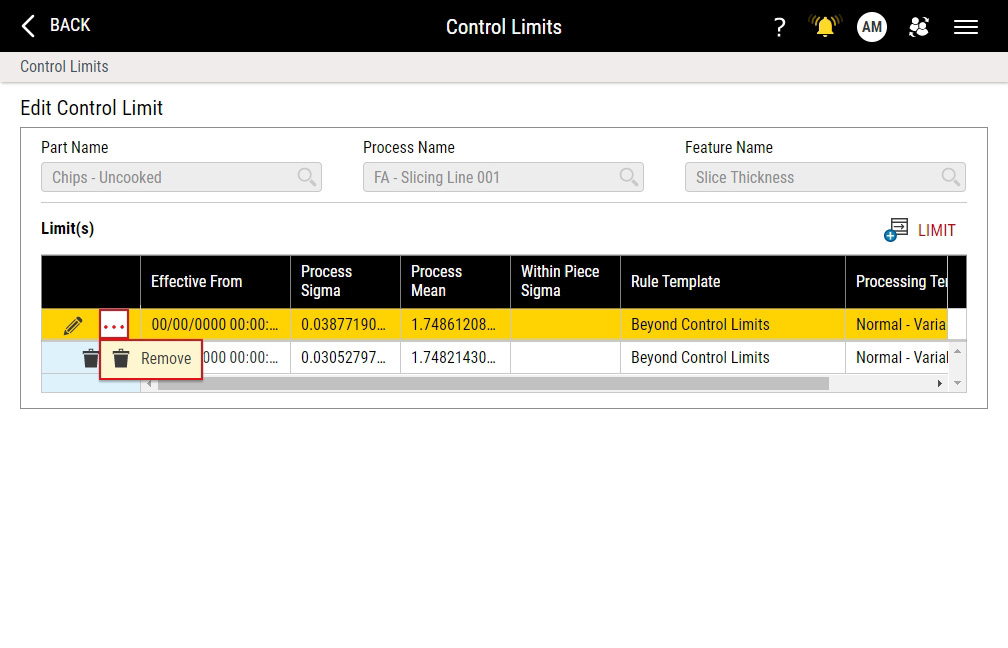
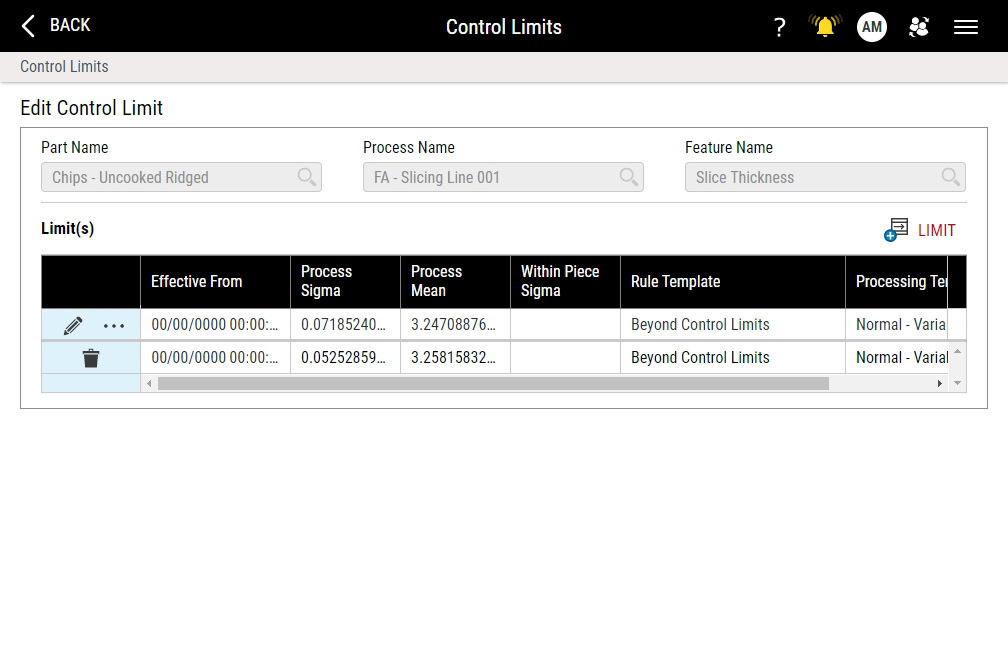
To remove an existing control limit entry, do the following:
-
Removing Control Limit Entry (Only One Entry)
When there is only one control limit entry, Enact disables control limit entry removal, but you will still be able to edit that control limit entry. Enact will only allow you to remove control limit entries when there are two or more control limit entries.
-
Removing Control Limit Entry (First Entry of Multiple Entries)
-
Removing Control Limit Entry (Previous Entry of Multiple Entries)
- In the previous control limit entry, select Remove.
- In the Remove Control Limit dialog box, select OK.
-


