Creating Response Groups
Using this procedure, you will create the response group.
- Select Access Menu and then select Feature | Response Groups.
-
In the Response Groups landing page, select Create Response Group.
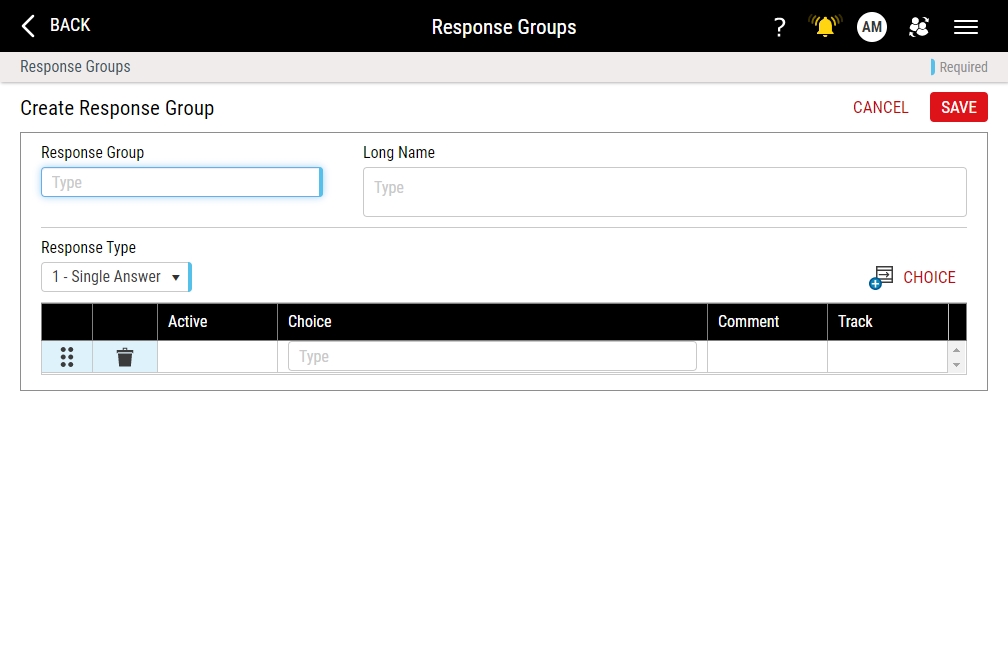
- In the Response Group data field, type the response group name.
- In the Long Name data field, type the extended name of the response group.
-
In the Response Type drop-down list, select the desired response type:
- Single Answer. Restrict the user to a single selection for each checklist feature. For example, for the checklist feature, Do the tools work?, the user may select YES or NO, but not both.
- Multiple Answer. Allow the user to make multiple selections for each checklist feature. For example, for the checklist feature, Which tools are currently broken?, the user may select zero, one, or more entries from the list of tools.
- Select Choice, and in the Choice column, type an acceptable response (for example, type Yes).
-
In the Comment column, do one of the following:
- To prompt the user for a comment upon selecting this response, activate the Comment slider.
- To disable the comment prompt, deactivate the Comment slider.
-
In the Track column, do one of the following:
- To include the selection of this response in the track count total, activate the Track slider.
- To ignore the selection of this response in the track count total, deactivate the Track slider.
When designing a checklist, you set a minimum track count that generates an event. For example, you could configure a checklist to generate an event after 1 or 2 or more No selections. For more information about the Create Checklist page, please see Creating Checklists.
-
To add additional response choices, repeat the above steps.
To reorder the response choices (when more than one exists), select and drag Reorder.
To remove an existing response choice, select Delete.
- Select Save.


