Creating Checklists
Using this procedure, you will create the checklist.
- Select Access Menu and then select Data Collection | Checklists.
-
In the Checklists landing page, select Create Checklist.
-
Modify the contents under the following tabs:
-
 Checklist Configuration Tab
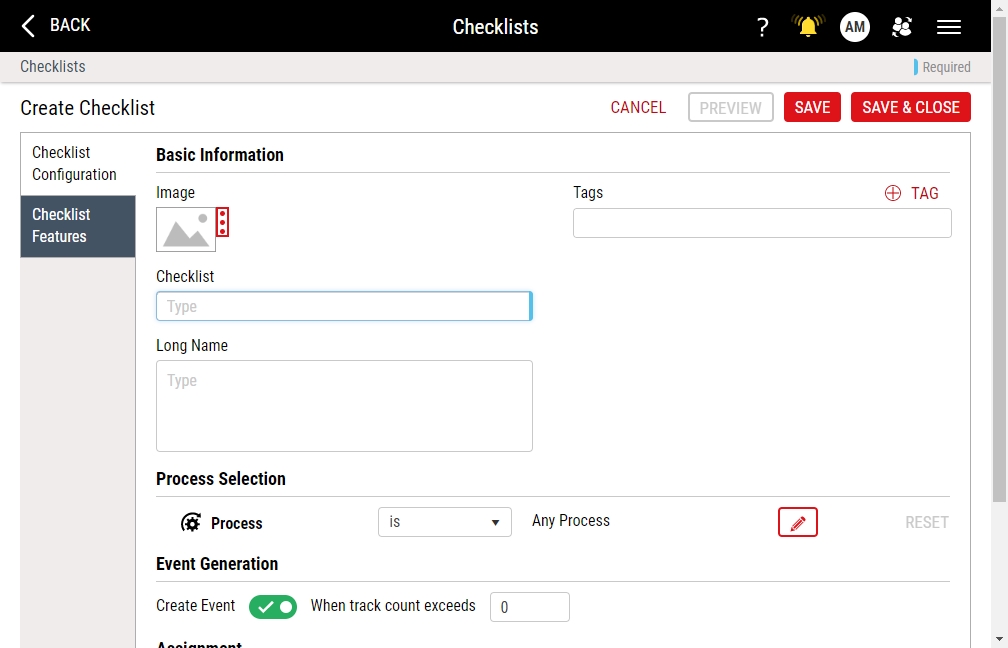
Under the Checklist Configuration tab, you can configure the checklist settings, including naming the checklist, uploading, changing, or removing an image for the checklist, providing an extended name for the checklist, adding identification tags, associating the checklist with one or more processes, establishing the threshold for tracked responses, and restricting the checklist to specific users, roles, and workstations.
- In the Checklist data field, type the checklist name.
-
To configure the checklist image, locate the optional image item, and then do one of the following:
- To upload an image when no image currently exists, select More, select Upload Image, and then browse to the new image (maximum image size 600 KB; file types JPG, GIF, PNG, BMP).
- To change an existing image, select More, select Change Image, and then browse to the new image (maximum image size 600 KB).
- To remove an existing image, select More and then select Remove Image.
InfinityQS recommends resizing images to an aspect ratio of 4:3 (for example, 160 pixels wide by 120 pixels tall).
- In the Long Name data field, type the extended name of the checklist.
-
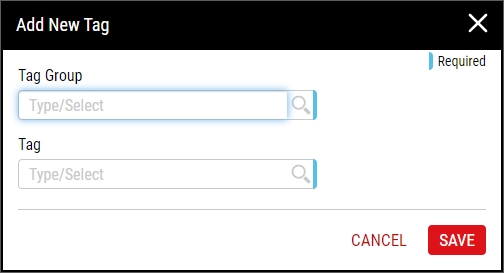
Using tags, you can provide additional characteristics to further identify the checklist. To add tags to the checklist, do the following:
-
In the Process Selection section, associate the checklist with one or more processes, as follows:
- To include designated processes, select is.
- To exclude designated processes, select is not.
-
To select processes, select Change, and then configure the selection:
Process
- To add processes based on operation, select the Dynamic radio button, select Operation, and in the Operation drop-down list, select the desired operations, and then select Apply.
-
To add processes based on tags, select the Dynamic radio button, select Tag Group, and then do the following:
- In the Tag Group drop-down list, select the desired tag group. Hint
- In the Tag drop-down list, select the desired tags.
- Select Apply.
- In the Tag Group drop-down list, select the desired tag group. Hint
-
To add individual processes, select the Static radio button, and then do the following:
-
To create events upon the tracked responses exceeding a specific number, do the following:
- In the Event Generation section, activate the Create Event slider.
- In the When track count exceeds data field, type the minimum number of tracked responses to trigger an event.
-
To restrict use of the checklist to specific users, roles, and workstations, do the following:
- In the Assignment section, select Allow only the following to complete this checklist.
- Select Assignee.
- In the Assignee drop-down list, select the desired assignee type.
- In the Name drop-down list, select the desired user, role, or workstation. Hint
- To add additional users, roles, or workstations, repeat the above steps.
To remove an existing assignee entry, select Delete.
-
Checklist Features Tab
Under the Checklist Features tab, you can add, order, and change the requirement status for the features (questions) for a checklist.
- Select Feature.
- In the Feature drop-down list, select the desired feature (question). Hint
- In the Required column, activate the Required slider to require the feature.
- In the Camera column, activate the Camera slider to enable the camera functionality. Using a device's camera through the browser running Enact, users can capture a photo and assign that image to the checklist question. For more information, please see Using Checklists.
- To reorder the existing features (when more than one exists), select and drag Reorder.
- To add additional features, repeat the above steps.
To remove an existing feature, select Delete. Deleting all features from a Checklist will cause requirement events to become non-launchable and the events will be removed from your dashboard automatically.
-
- Select Save, or select Save & Close to save and close the page.