Creating Processes
Using this procedure, you will create a process.
- Select Access Menu and then select Process | Processes.
-
In the Processes landing page, select Create Process.
-
Modify the contents under the following tabs:
-
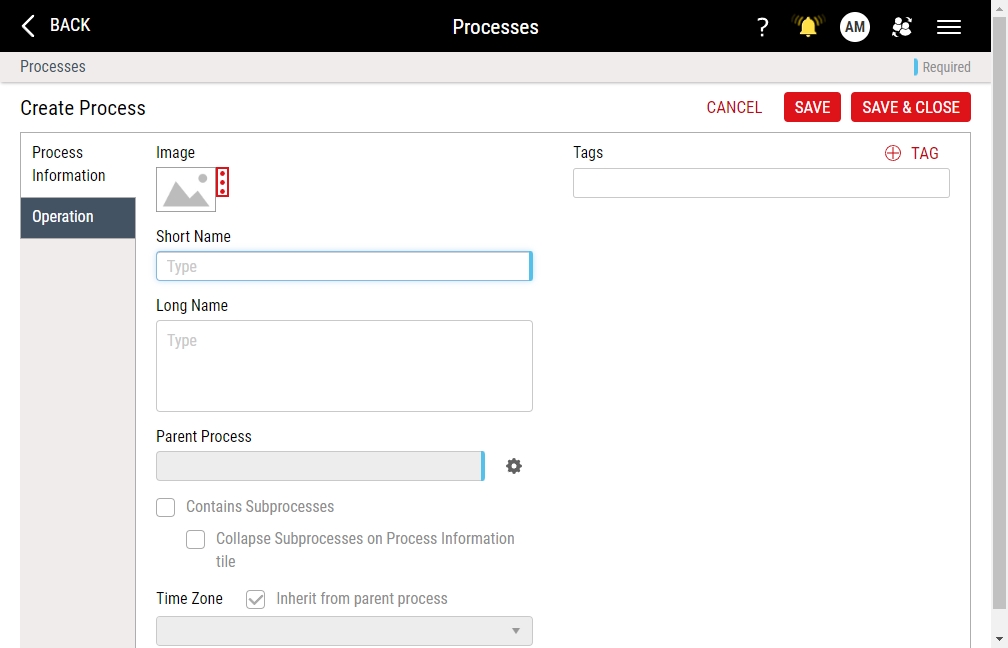
 Process Information Tab
Under the Process Information tab, you can configure the process settings, including uploading, changing, and removing the process image, setting the parent process, and assigning tags to the process for further identification.
-
In the Short Name data field, type the process name.
If you type a name of a removed process, Enact displays the message, "Short name already exists as removed record." Do one of the following:
- Type a different name.
- Restore the removed process and modify its settings. For more information, please see Restoring Removed Parts.
- Purge the removed records. For more information, please see Purging Data.
-
-
To configure the process image, locate the optional image item, and then do one of the following:
- To upload an image when no image currently exists, select More, select Upload Image, and then browse to the new image (maximum image size 600 KB; file types JPG, GIF, PNG, BMP).
- To change an existing image, select More, select Change Image, and then browse to the new image (maximum image size 600 KB).
- To remove an existing image, select More and then select Remove Image.
InfinityQS recommends resizing images to an aspect ratio of 4:3 (for example, 160 pixels wide by 120 pixels tall).
-
- In the Long Name data field, type the extended name of the process.
-
To set the parent process that this process belongs to (and inherits its time zone from), do the following:
-
In the Parent Process data field, select Parent Process.
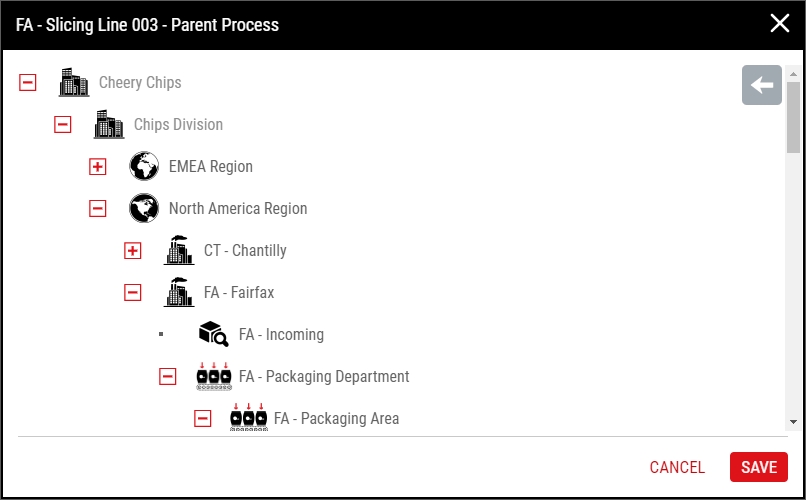
- Select the parent process and then select Save.
-
-
To identify child processes as subprocesses, select Contains Subprocesses.
By clicking on the gear icon next to the field, you can also drag and drop child processes to make them child of another sibling process under a same parent process.
-
To collapse and hide the subprocesses under the parent process on the Process Information tile, simplifying the display on the tile, select Collapse Subprocesses on Process Information tile. Selecting this option guarantees that subprocess counts and their details become visible at the parent process level. Subprocess details are displayed on the process information tile according to the soft refresh interval currently implemented in Enact. For more information, please see Managing Process Information Tiles (Raw Dashboards).
To access the Collapse Subprocesses on Process Information tile option, you must first select Contains Subprocesses.
-
To manually set the time zone of the process, do the following:
- Deselect Inherit from parent process.
- In the Time Zone drop-down list, select the desired time zone.
Enact always displays time for the current user in the time zone of that user’s operating system. For example, users in the following locations during northern hemisphere winter would see the following times:
- Washington, DC (EST): 9:00 AM / 09:00
- Los Angeles (PST): 6:00 AM / 06:00
- London (GMT): 2:00 PM / 14:00
- Moscow (MSK): 5:00 PM / 17:00
- Beijing (CST): 10:00 PM / 22:00
- Sydney (AEDT): 1:00 AM / 01:00
-
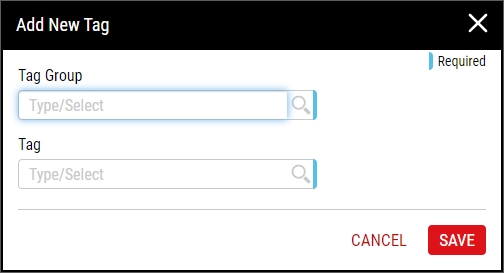
Using tags, you can provide additional characteristics to further identify the process. To add tags to the process, do the following:
-
-
Operation Tab
Under the Operation tab, you can manage operations associated with this process, removing existing operation associations or copying new operation associations from another process, quickly adding the process to the process model.
-
Existing Operations
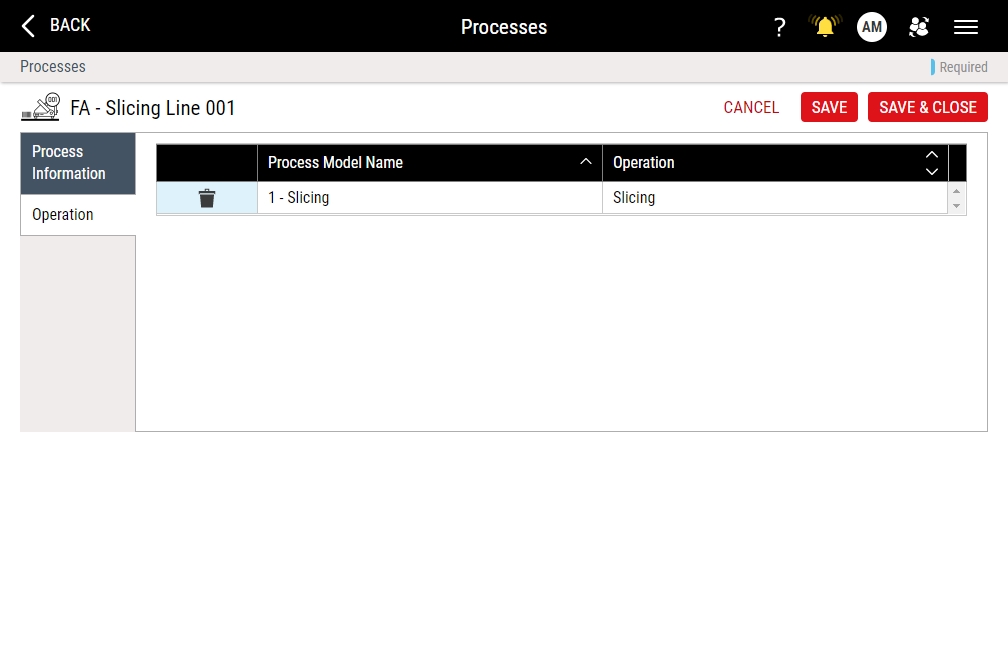
If an operation association exists for the process, you can remove existing operation associations, as follows:
-
No Operations
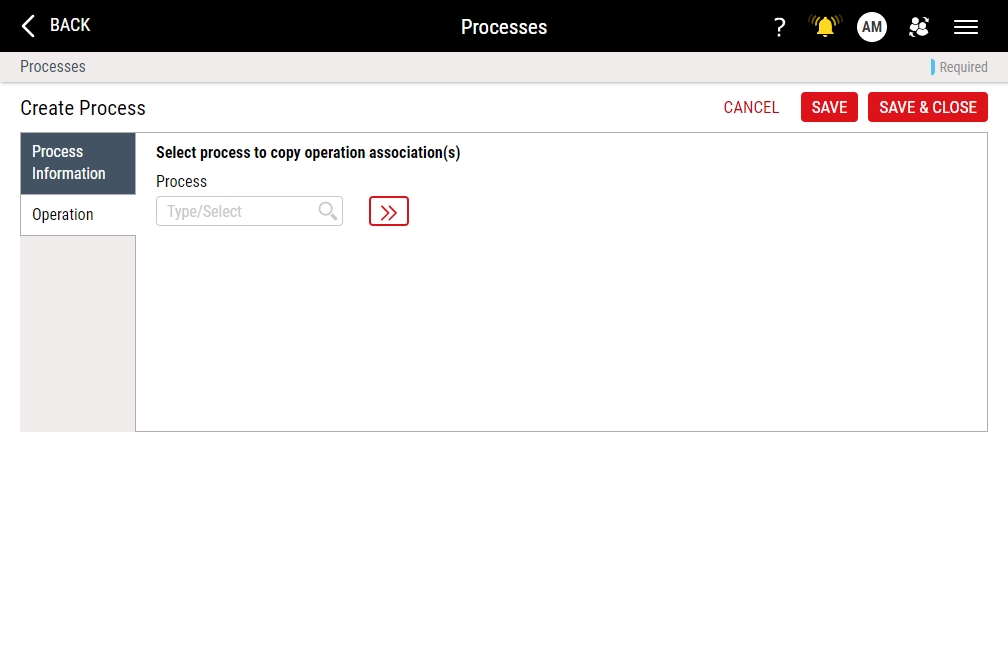
If no operation associations exist for the process, you can copy operation associations from a selected process to this process, as follows:
-
-
- Select Save, or select Save & Close to save and close the page.