Creating Dashboards
Using this procedure, you will create the dashboard.
The active dashboard is the last dashboard you used. If your administrator has not assigned a work dashboard to you and you have not interacted with any other dashboard, Enact displays the No Dashboard currently associated to display message, which also contains Select Dashboard and Create New Dashboard.
- Select Access Menu and then select Dashboard.
-
In the dashboard, select Settings, select Create New Dashboard, and then select Aggregated or Raw.
In the No Dashboard currently associated to display page, select Create New Dashboard, and then select Aggregated or Raw.
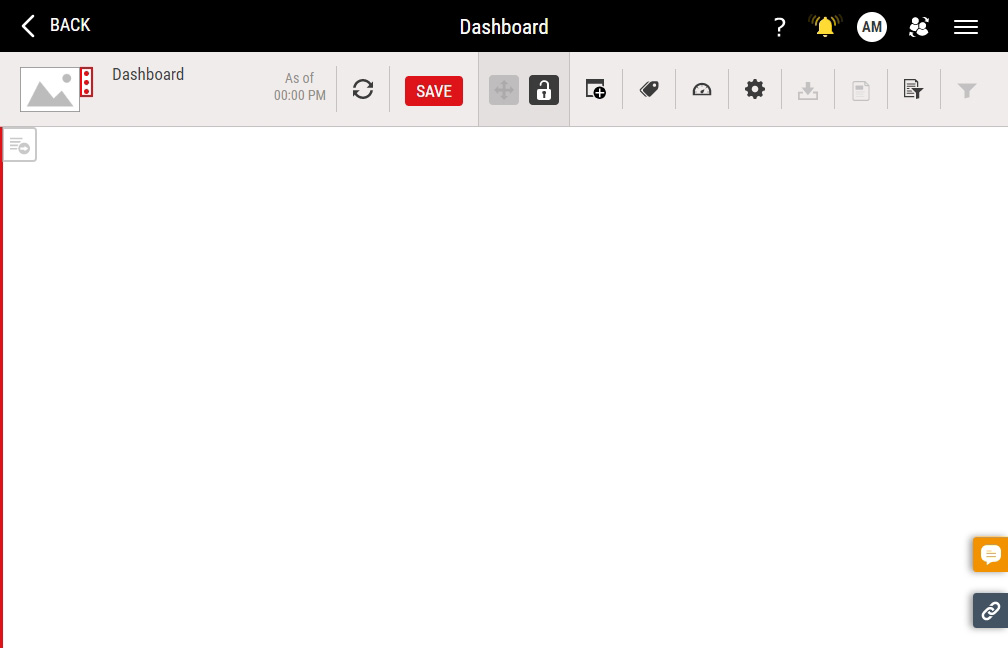
The new unlocked dashboard opens, which allows you to make changes to the dashboard.
-
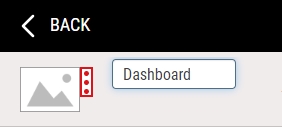
To configure the dashboard image, locate the optional image item, and then do one of the following:
- To upload an image when no image currently exists, select More, select Upload Image, and then browse to the new image (maximum image size 600 KB; file types JPG, GIF, PNG, BMP).
- To change an existing image, select More, select Change Image, and then browse to the new image (maximum image size 600 KB).
- To remove an existing image, select More and then select Remove Image.
InfinityQS recommends resizing images to an aspect ratio of 4:3 (for example, 160 pixels wide by 120 pixels tall).
-
To rename the dashboard, select the dashboard name, type the desired dashboard name, and then select anywhere on the dashboard to commit the change.
-
To add tiles to the dashboard, please see Adding Tiles.
In a dashboard's parameter set, if you set the Limit parameter set to return Latest records data field to fewer records than the total number of records available, Enact flags all affected tiles with a record limit reached warning message.
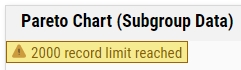
In the record limit reached warning message, Enact identifies the total number of records currently displayed, allowing you to modify the selected parameter set to display more records, as desired. For more information, please see Editing Parameter Sets.
- To reload the dashboard, updating the display with the latest changes, please see Refreshing Dashboards.
-
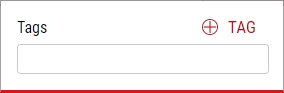
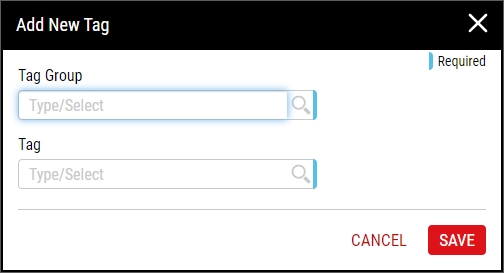
Using tags, you can provide additional characteristics to further identify the dashboard. To add tags to the dashboard, do the following:
- To select a dashboard, please see Selecting Dashboards.
-
To select the parameter set for the dashboard, do the following:
- In the toolbar, select Select Parameter Set.
-
In the parameter set selection dialog box, select Select for the desired parameter set. Hint

For more information, please see Creating Parameter Sets.
When you select a parameter set, it will only affect the following tiles on the dashboard:
- Raw Dashboard: Box & Whisker, Pareto, Data Summary, Stream Summary, Compliance.
- Aggregated Dashboard: Stream Analysis Table, 2D Chart, Grading Matrix, Site Summary, Bubble Chart, Stream Overview Report, Compliance Summary, Lot Report.
- To filter the dashboard's parameter set on parts, processes, and/or features, please see Filtering Dashboard Parameter Sets.
- Select Save.