Creating Data Collections
Using this procedure, you will create the data collection.
- Select Access Menu and then select Data Collection | Process Models.
-
In the Process Models landing page, select Edit.
-
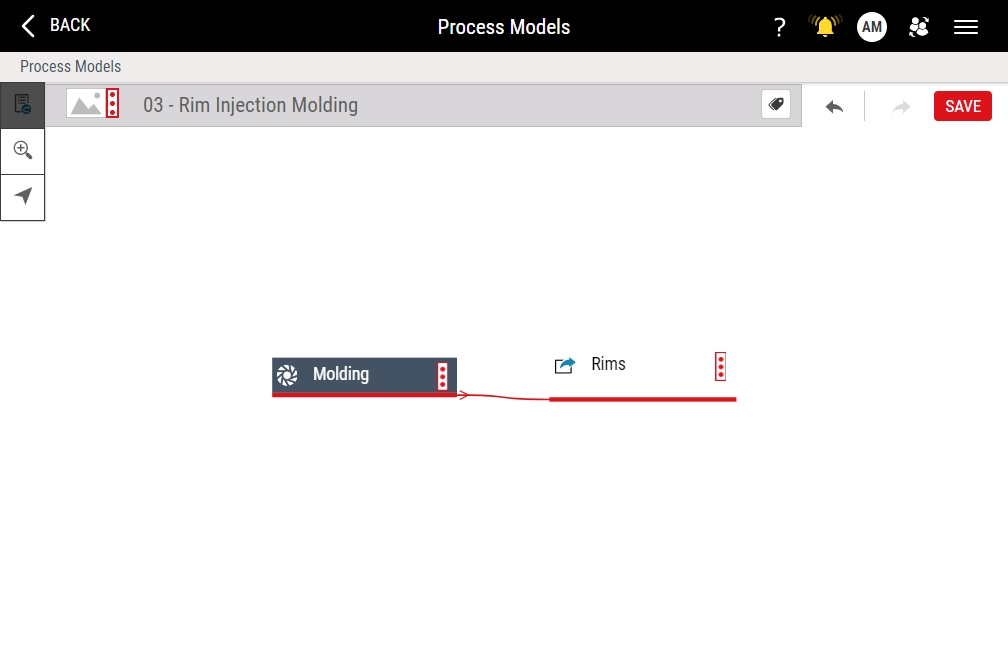
In the operation, select More and then select Data Collection.
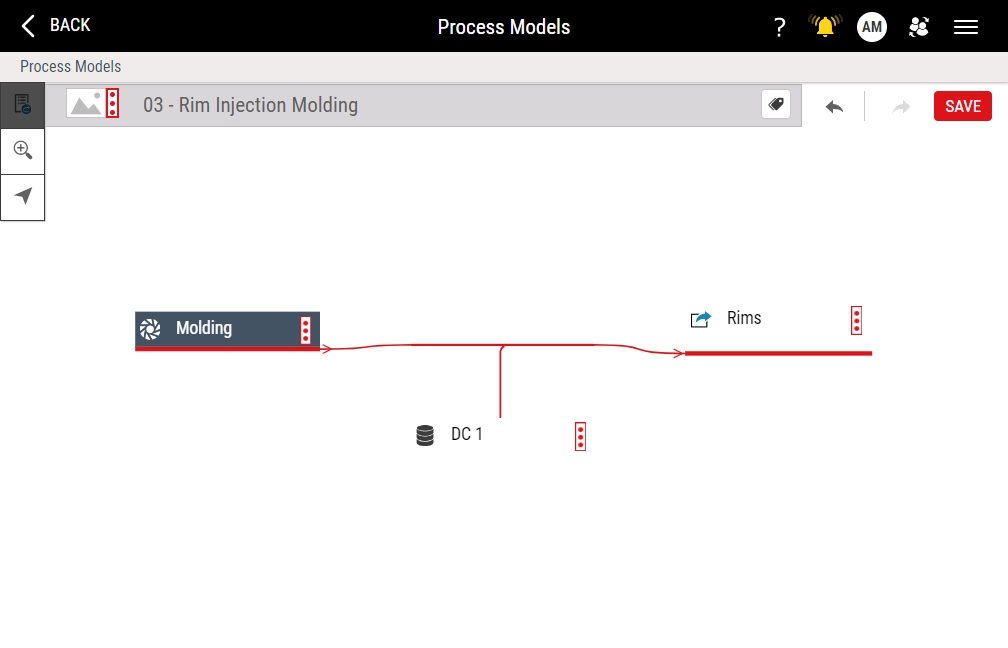
- In the process model, select DC 1, type the name of your data collection, and then select anywhere on the process model to commit the change.
- In the data collection, select More and then select Data Collection Details.
-
To configure the data collection features, do the following:
-
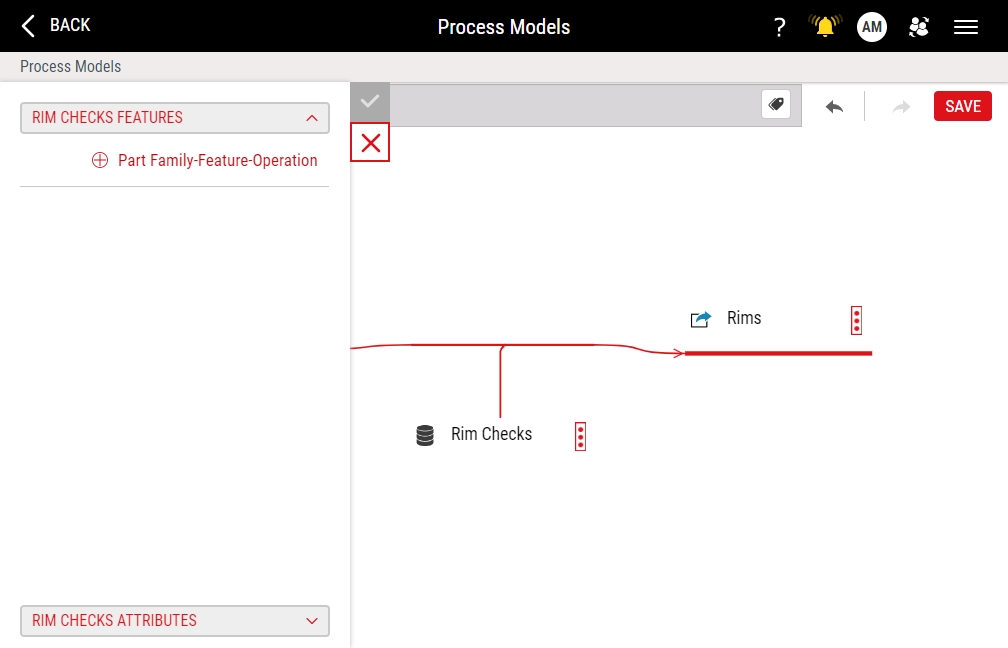
In the data collection panel, select to expand the Features section.
-
In the Features section, select Part Family-Feature-Operation.
-
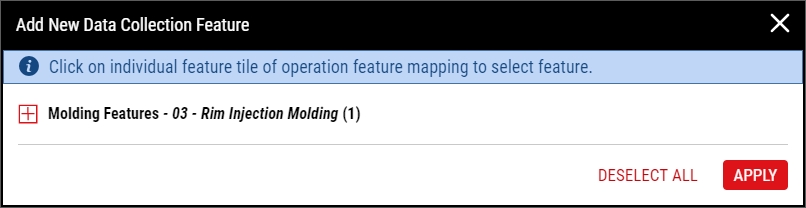
In the Add New Data Collection Feature dialog box, do the following:
- Select to expand each Features section. For example, if you named your operation Injection Molding and you named your output part family Rim, you would expand the Injection Molding Features - Rim section.
-
Under each Features section, select the feature / output part family combination.
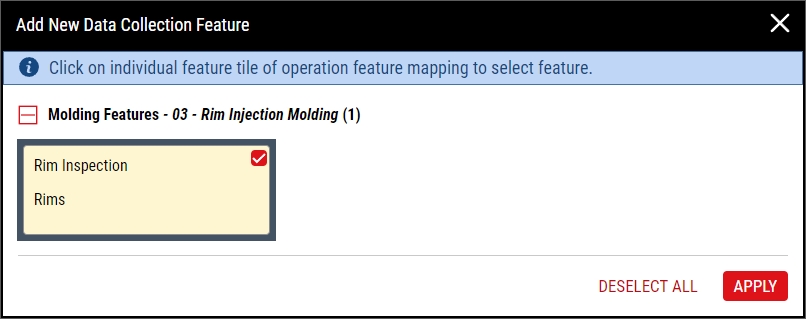
- When finished, select Apply.
-
-
To configure the data collection attributes, do the following:
-
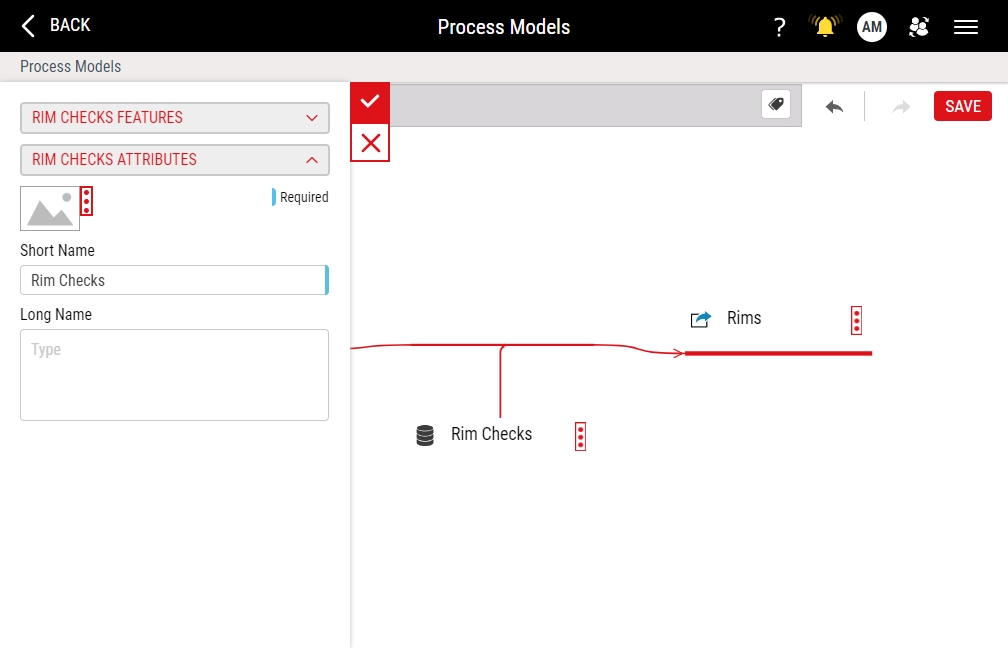
In the data collection panel, select to expand the Attributes section.
-
To configure the data collection image, locate the optional image item, and then do one of the following:
- To upload an image when no image currently exists, select More, select Upload Image, and then browse to the new image (maximum image size 600 KB; file types JPG, GIF, PNG, BMP).
- To change an existing image, select More, select Change Image, and then browse to the new image (maximum image size 600 KB).
- To remove an existing image, select More and then select Remove Image.
InfinityQS recommends resizing images to an aspect ratio of 4:3 (for example, 160 pixels wide by 120 pixels tall).
- In the Short Name data field, type the data collection name. Ensure the name is unique and descriptive.
- In the Long Name data field, type the extended name of the data collection.
-
- In the data collection panel, select Apply.
- Select Save.
-
To continue configuring the data collection, do one or more of the following:


