Configuring Data Collection Parameters
Using this procedure, you will configure the data collection parameters. One of the parameters that can be configured is Apply to All Subprocesses. This parameter enables you to enter a value related to a subprocess and then apply that value to all of the process' subprocesses, eliminating the need to reenter a value such as tare weight multiple times when it doesn't change subprocess to subprocess.
- Select Access Menu and then select Data Collection | Data Collection Configurations.
-
Select Configure Parameters for the desired data collection configuration.
To open the Data Collection Parameters page from the process model, do the following:
- Select Access Menu and then select Data Collection | Process Models.
- In the Process Models landing page, select Edit.
- In the desired data collection, select More and then select Configure Parameters.
To open part or process filtering directly from the Data Collection Parameters page, do the following:
-
To open part filtering, select Filter for the Part Family in the Feature row. For more information, please see Part Restrictions Tab.
-
To open process filtering, select Filter for the Operation in the Feature row. For more information, please see Process Restrictions Tab.
-
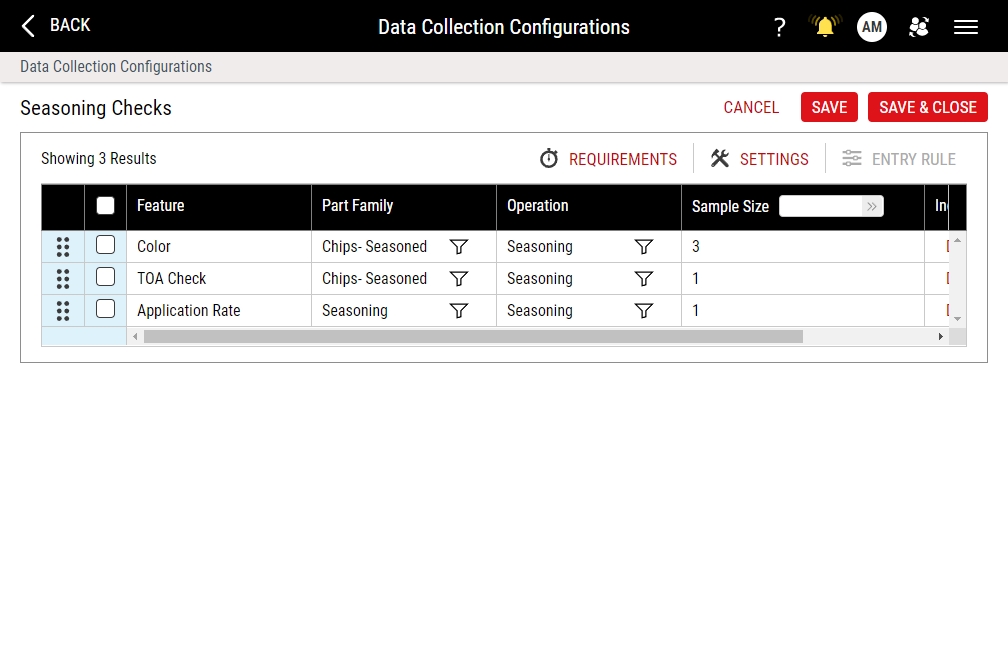
In the Data Collection Parameters page, the following functionality is available to you:
- Creating Data Collection Requirements
- Configuring Data Collection Settings
-
 Reordering Features
You can control/change the order of the features for which the user collects data, providing flexibility to collect data for certain features before other features in the data collection.
- In the Data Collection Parameters landing page, locate the desired feature.
- In the feature, select and drag Reorder to the new location.
-
Setting Sample Size
You can set the sample size for a single feature or multiple features. For example, you can set a sample size of 3 for a specific feature and set a sample size of 5 for all other features. You may need to set different sample sizes for certain features.
-
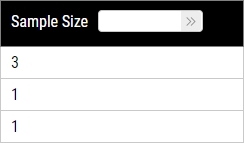
In the Data Collection Parameters landing page, locate the Sample Size column.
-
To modify the sample size for a single feature, select the current value in the feature row, type the new value, and then press ENTER.
-
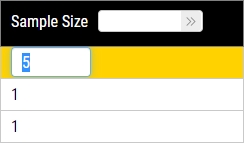
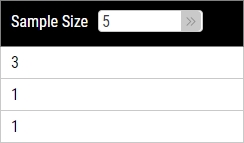
To modify the sample size for all features, type the new value in the Sample Size data field and then select Save.
-
-
Configuring Data Collection Entry Settings
You can configure the data entry method (keyboard or gauge) for a single feature or multiple features. For example, you can set the data entry method to keyboard for a specific feature and set the data entry method to gauge device for all other features. Also, you can set different entry rules for a single feature or multiple features. For example, you can set the “at least one value required” entry rule for a specific feature and set the "all values required" entry rule for all other features. Finally, you can include or exclude parts and processes for specific features during data collection.
-
In the Data Collection Parameters landing page, locate the Individual Settings column.
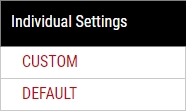
-
In the Individual Settings column, select the link (Default or Custom) for the desired feature row.
To edit the Entry Rule settings for multiple features, do the following:
-
In the Data Collection Parameters page, select each desired feature. To select all features, select the column header checkbox.

- Select Entry Rule.
When editing multiple features, you will only be able to configure the Entry Rule settings. You will not be able to edit the Entry Method settings for multiple features.
-
-
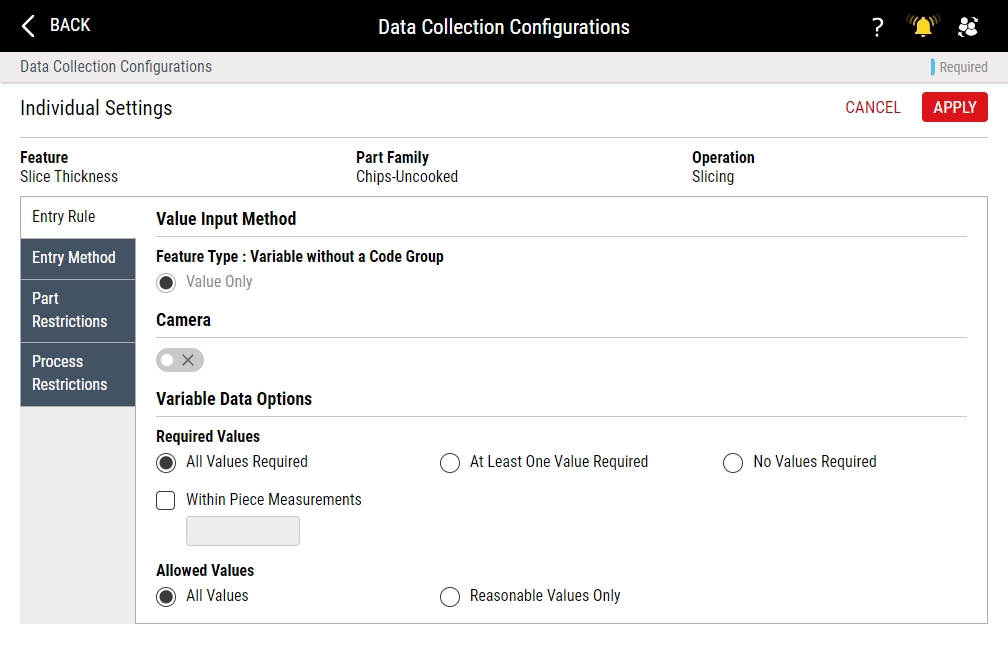
In the Individual Settings page, you can do the following:
-
Entry Rule Tab
Under the Entry Rule tab, you can configure data collection settings for the selected feature.
-
Variable Features
To control the variable data collection, do the following:
-
To control the required values, do one of the following:
- To require all samples in the subgroup, select All Values Required.
- To require at least one sample in the subgroup, select At Least One Value Required.
- To require no samples in the subgroup, select No Values Required. The values for this feature, collected or not, will not impact compliance statistics.
- To collect within-piece measurements for the feature, select Within Piece Measurements, and in the data field, type the number of within-piece measurements.
- To enable operators to apply a single value to all of a process' subprocesses, select Apply to All Subprocesses. This is useful for subprocess measurements that don't change between subprocesses, such as tare weight. It is applicable to variable data only. The effect of enabling this setting is that an Apply All button gets added to the page operators use to manually collect data. This Apply to All Subprocesses checkbox is disabled if Ignore Subprocesses or Prompt for Subprocesses on the Required Information tab of the general Settings page is selected.
-
To control the allowable values during data collection, do one of the following:
- To allow both reasonable and unreasonable values during data collection, select All Values.
- To prevent unreasonable values during data collection, select Reasonable Values Only.
-
-
Attribute Features (Defect)
To control the data collection interface, do one of the following:
-
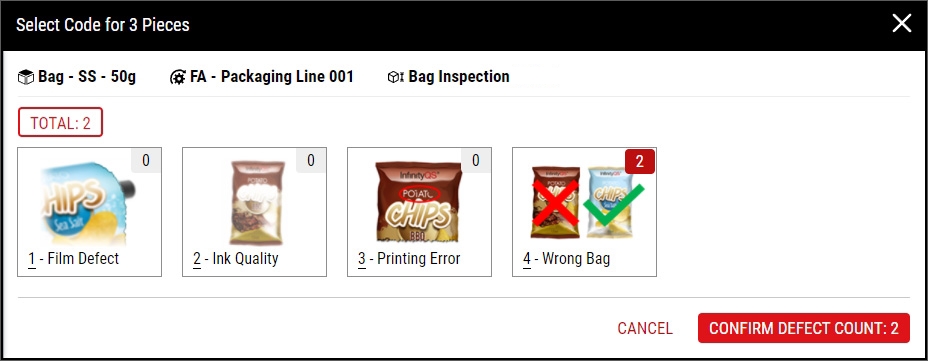
Code List
During data collection, the operator types the defect count and selects the defect code. Depending on the configuration, Enact may require that the operator provide both the defect count and defect code, defect count only, defect count and optional defect code, and defect code only.

Under Value Input Method, select Code List, and then select one of the following:
- Value and Required Code. During data collection, the operator must provide the defect count and the defect code (for example, 3 and Scratched).
- Value Only. During data collection, the operator must provide the defect count only (for example, 3).
- Value and Optional Code. During data collection, the operator must provide the defect count, and optionally may provide the defect code (for example, 3 and Scratched).
- Code Only. During data collection, the operator must provide the attribute code only (for example, Scratched).
-
Code Grid: Increment
During data collection, the operator sets the defect count by selecting one or more times on the desired defect code button. For example, to set two wedged defects, the operator selects the Wedged defect button twice.
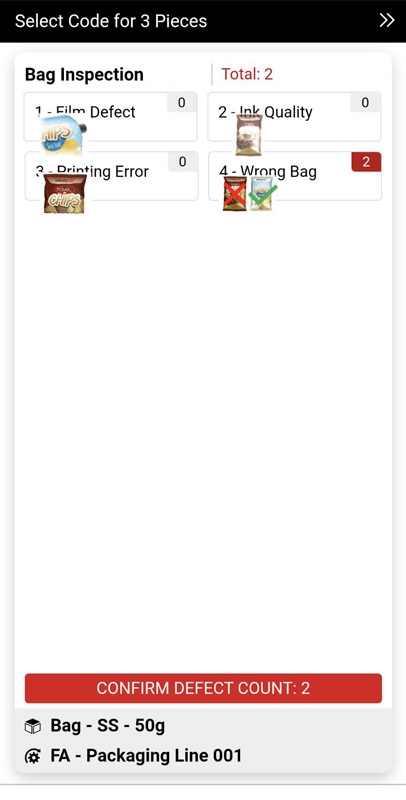
Under Value Input Method, select Code Grid: Increment.
-
Code Grid: Numeric
During data collection, the operator sets the defect count by selecting the desired defect code button and typing the defect count. For example, to set two wedged defects, the operator selects the Wedged defect button and then type 2.
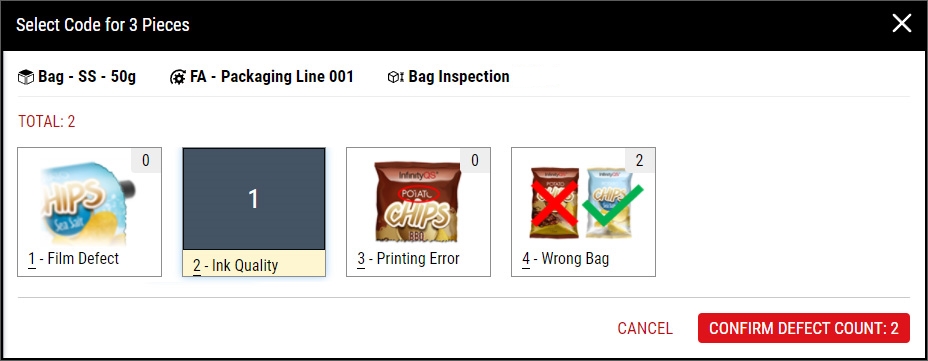
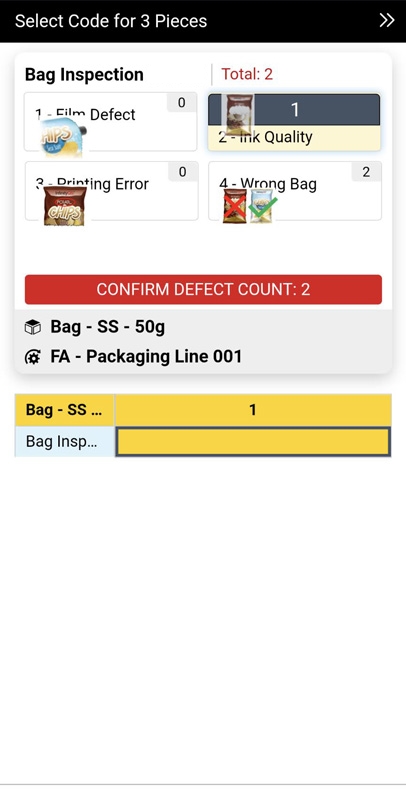
Under Value Input Method, select Code Grid: Numeric.
-
-
Attribute Features (Defective)
To control the data collection interface, do one of the following:
-
Code List
During data collection, the operator types the defective count and selects the defective code. Depending on the configuration, Enact may require that the operator provide both the defective count and defective code, defective count only, defective count and optional defective code, and defective code only.
Under Value Input Method, select Code List, and then select one of the following:
- Value and Required Code. During data collection, the operator must provide the defective count and the defective code (for example, 3 and Scratched).
- Value Only. During data collection, the operator must provide the defective count only (for example, 3).
- Value and Optional Code. During data collection, the operator must provide the defective count, and optionally may provide the defective code (for example, 3 and Scratched).
- Code Only. During data collection, the operator must provide the attribute code only (for example, Scratched).
-
Require a Code for Each Piece
During data collection, the operator must select one defective code button for every piece in the subgroup, and cannot skip the defective code selection. Most customers will use this data collection for Pass/Fail or Approve/Reject checks.
When creating defective codes, be sure to add at least one Pass or Approve code with Weight set to 0 (zero), or the operator will trigger defective alarms for every piece. For more information, please see Creating Code Groups.
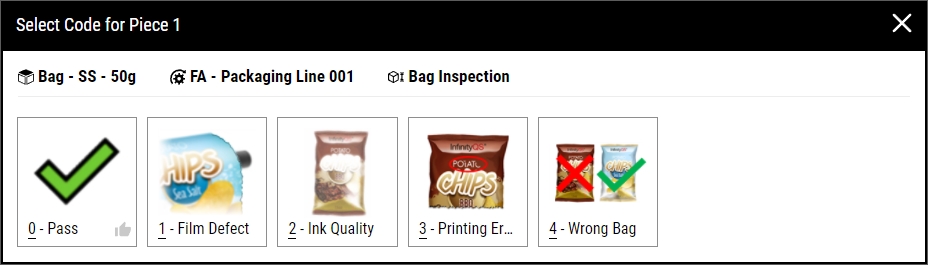
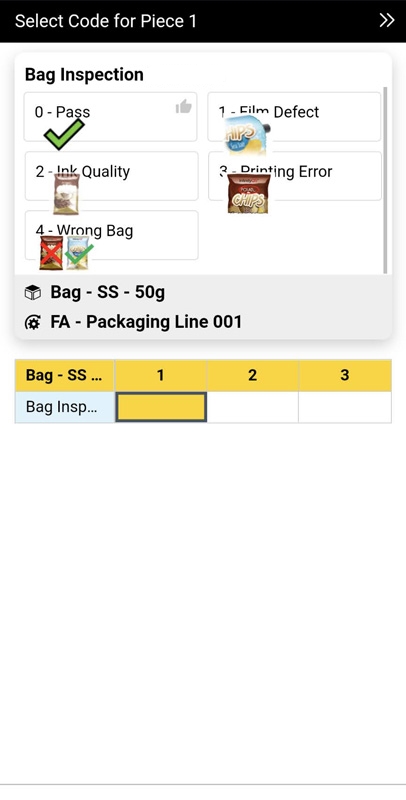
Under Value Input Method, select Require a Code for Each Piece.
-
Note: Activate the Camera slider to give users the option of capturing a photo for the feature during data collection. Why capture photos?
-
-
Entry Method Tab
Under the Entry Method tab, you can select the allowable data input.
If you select both Keyboard and Gauge Device and do not assign a gauge device, Enact assumes the Keyboard entry method and does not prompt for Gauge Agent during data collection. However, if you assign if you only select Gauge Device and do not assign a gauge device, Enact will prompt for Gauge Agent during data collection. This allows the same data collection to be used across multiple workstations, where some workstations use gauges and other do not.
- To allow users to type the collected values using a keyboard, select Keyboard.
-
To allow users to collect values using serial gauge devices, select Gauge Device, and then do the following:
- In the Gauge Device data field, select the desired gauge device. Hint
-
In the Value Selection data field, select how Enact handles values from the gauge device, using values from before the data collection began or ignoring those values and awaiting the next value received. For the selections below, Enact considers a value "used" upon selection for a measurement, even if the operator doesn't save the data collection.
- Next Value. (Default) Ignore previously received values and wait for the next value received from the gauge device.
- Current Value. Return the most recent value received from the gauge device before the operator entered the data field. If there are no values, return nothing.
- Newest Value If Unused. Return the most recent value received from the gauge device before the operator entered the data field, but only if the value is unused. Otherwise, return nothing.
- Oldest Unused Value. Return the most oldest unused value received from the gauge device before the operator entered the data field. If there are no unused values, return nothing.
-
Display list of values to the user. Display a list of values received from the gauge device, allowing the operator to select the desired value.
While open, the list automatically displays new values received from the gauge device.
You can select the following settings:
- Show newest on top. Organize the list from newest values to oldest values.
- Allow previously used values to be displayed. Display used and unused values in the list.
- Specify maximum number of values in the list. Set the maximum number of values displayed.
- In the Gauge Device data field, select the desired gauge device. Hint
-
Part Restrictions Tab
Under the Part Restrictions tab, you can do one of the following:
-
Include specific parts for a feature using part tags, excluding all other parts
-
Exclude specific parts for a feature using part tags, including all other parts
If the feature does not apply to the excluded part you're collecting data on, Enact will automatically skip the feature.
-
-
Process Restrictions Tab
Under the Process Restrictions tab, you can do one of the following:
-
Include specific processes for a feature using process tags, excluding all other processes
-
Exclude specific processes for a feature using process tags, including all other processes
If the feature does not apply to the excluded process you're collecting data on, Enact will automatically skip the feature.
-
-
- Select Apply.
-
- Select Save, or select Save & Close to save and close the page.


