Managing Process Events Tables
From the Process Events Pareto tile, you can open the Process Events page, allowing you to to view process events, and then open the Event Details page, allowing you to review extensive details about the event, assign event codes (for example, Power Failure or Bent Bit) when appropriate, and attach comments.
To create new event codes, please see Managing Event Codes.
-
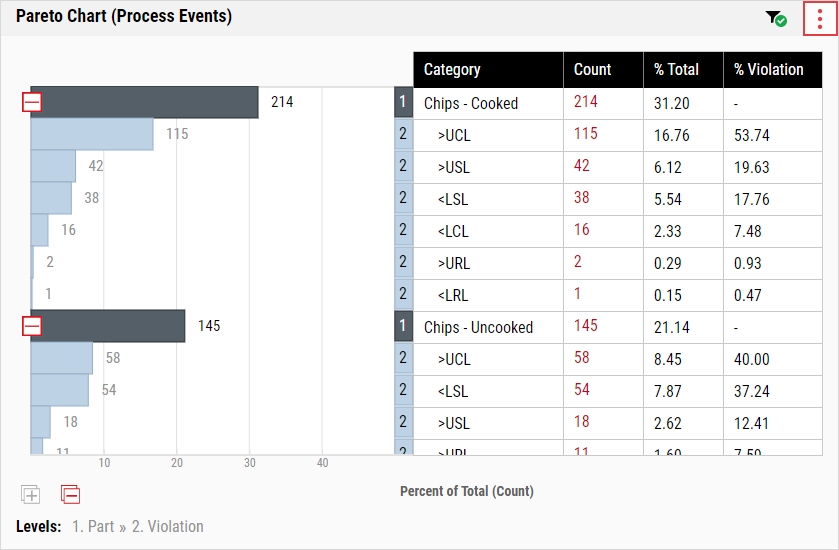
Examine the Process Events Pareto tile.
-
In the data table on the right, select the Count column value for the event about which you want to see details.

-
Review the Process Events page.

-
If you don't see the event you are looking for, check the Show all Events checkbox.
-
Additional information for some of the columns on this page can be viewed by selecting a cell within it. For example:
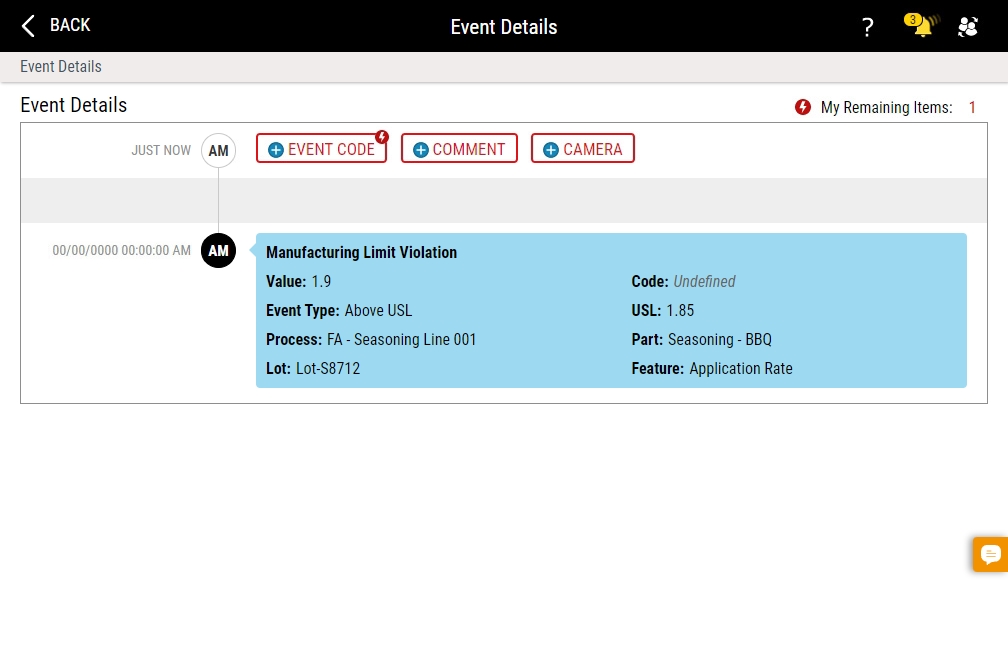
- Values: The number in the Values column represents the value that triggered the Manufacturing Limit violation. Select the arrow in a column's cell to view the limit type (e.g., USL) that was violated and the configured value for that type.
- Event Codes. Select the number in the Codes column for the desired process event to view a list of assigned event codes, along with the user who added each event code and the date and time the user added the code.
- Comments. Select the number in the Comments column for the desired process event to view a list of assigned comments, along with the user who added each comment and the date and time the user added the comment.
- Photos. Select the number in the Images column for the desired process event to view a list of assigned photos, along with the user who added each photo and the date and time the user added the photo.
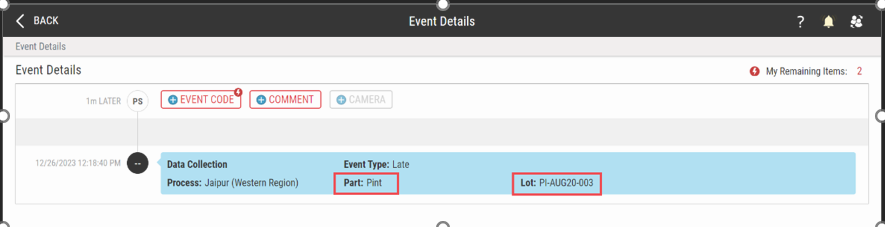
- Type: If the value in this column is Late, the part and lot will be shown provided there is only one part and lot associated with the event. Otherwise, Multiple will be shown.
-
If you arrived on this Process Events page by clicking the Edited Subgroup count in the Pareto Chart (Process Events) tile, the page is limited to just subgroups that have been edited and contains a unique Changes column. Click the eye icon in this column to see an Edited Subgroup - Change Details page, which displays the subgroup's previous value, its current value (the value the subgroup was changed to), and the Reason for Change that was entered.
The Status of an Edited Subgroup event on the Process Events page, regardless of how the page is accessed, is Completed as there is no further action that can be taken with it. Related to this, in the page's Comment column, the following is seen: This event has been automatically closed by the system. Additionally, by design, the date-time stamp in the Time column is not linked to event details as there are no details to be viewed.
-
To manage event codes and comments, for event types other than Edited Subgroup, select the timestamp in the Time column for the desired process event and:
-
In the Event Details page, do the following:
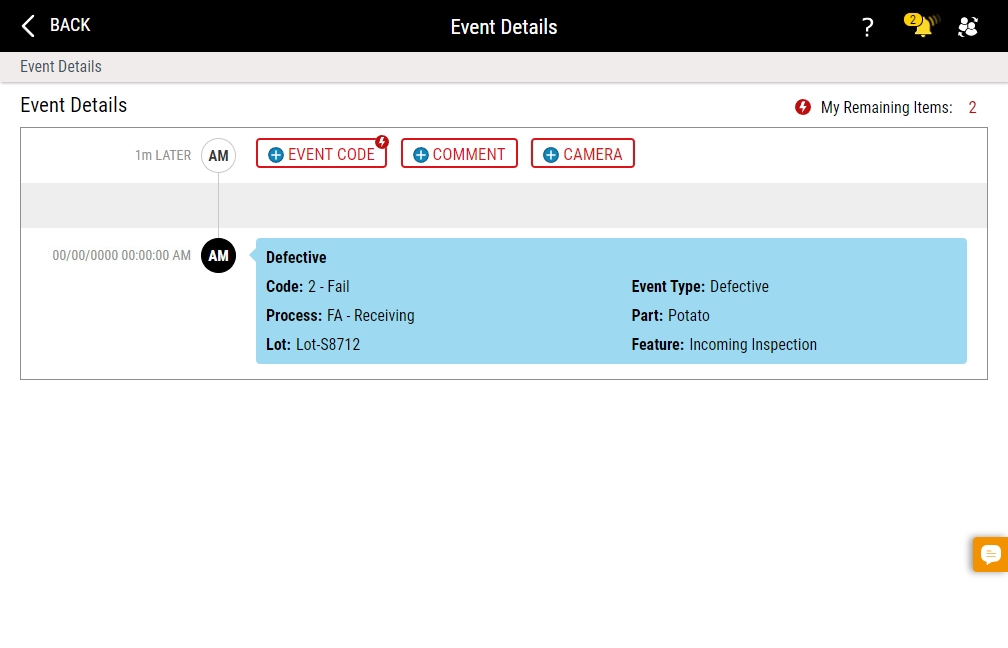
Enact highlights required items with a lightning bolt icon on the Event Code or Comment button.
In the Code data field, Enact displays the selected defective or variable code (if available). If the code was not selected or later deleted, Enact displays Undefined.
The Late Event Type, will display the respective part and lot details associated with the late event, as long as there is only a single part and lot associated with the late event. If multiple parts/lots are associated with the late event, or there is no lot associated with the event, Enact displays Undefined.
- To add an event code, select Event Code, select the code type (if necessary), and then select the desired event code.
- To add an event comment, select Comment, type the comment, and then select Add.
-
Using your device's camera through the browser running Enact, you can capture a photo and add that image to the event timeline, as follows:
 Supported Browsers
-
Google Chrome
- Windows/Android. Camera access supported.
- iOS. Camera access NOT supported.
-
Microsoft Edge
- Windows/Android. Camera access supported.
- iOS. Camera access NOT supported.
-
Apple Safari
- Windows/Android. Camera access NOT supported.
- iOS. Camera access supported.
-
Select Camera.
If you don't see Camera, you must configure the workflow associated with the event, selecting and dragging Reorder for the Camera item from the Not Allowed category to the Required or Optional categories. For more information, please see Creating Workflows.
If Camera is grayed out and inactive, your camera is disconnected from your device or inaccessible from your browser.
-
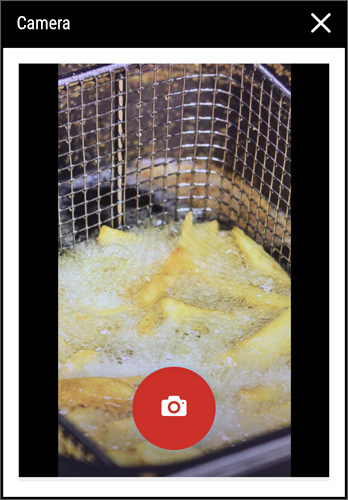
Aim your device's camera at the desired subject and then select the Camera button.
-
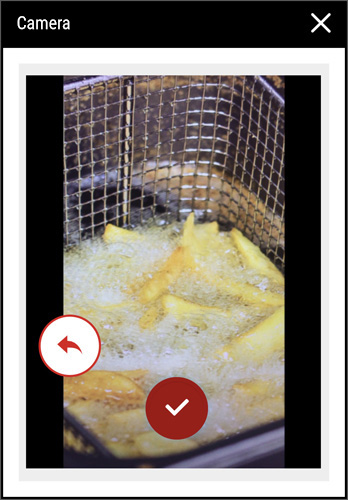
To confirm the photo, select Done.
To retake the photo, select Retake.
If you capture a photo for a checklist question, you must also select a response for that question.
-
-
To view an existing photo, select More and then select View Image.
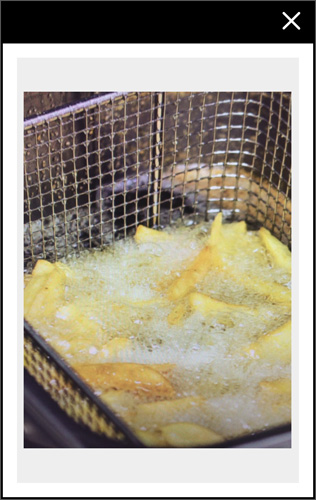
In the enlarged photo, you can zoom as follows:
- On a device with an attached keyboard, select the image and then press + (plus) to zoom in and press - (minus) to zoom out.
- On a device that supports pinch-to-zoom, pinch out to zoom in and pinch in to zoom out.
- To remove an existing photo, select More and then select Remove Image.
-
To hide comments, activate the Show Comments slider.
To show hidden comments, deactivate the Show Comments slider.
-
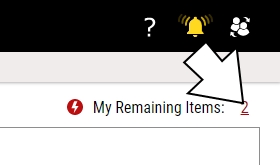
To view the remaining required items for this event, select the My Remaining Items counter.
- Select Back.
-


