Creating Gauge Formats
Using this procedure, you will create the gauge format.
- Select Access Menu and then select Data Collection | Gauge Formats.
-
In the Gauge Formats landing page, select Create Gauge Format.
-
Modify the contents under the following tabs:
-
 Basic Information Tab
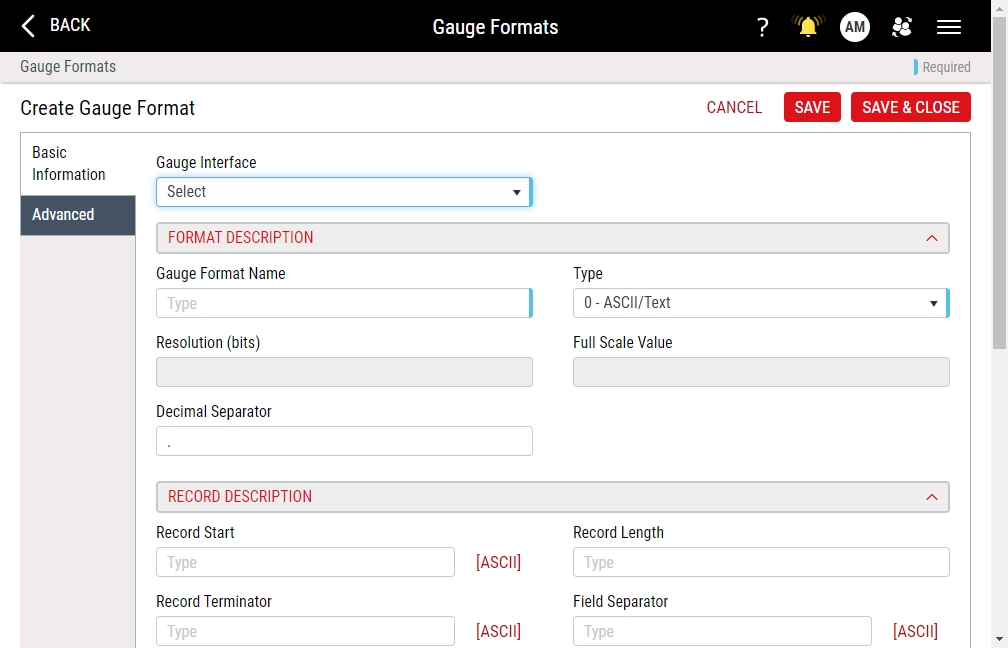
Under the Basic Information tab, you can configure the Gauge Format Connection Information, including Gauge Interface, Format Description, Record Description, and Multi Field Output Section.
- In the Gauge Interface drop-down list, select the desired interface.
- In the Gauge Format Name data field, type the gauge format identification name. Ensure the name is unique within the gauge interface type. For example, type Comma Separated.
-
In the Type drop-down list, select the desired data type:
- ASCII/Text. ASCII data type (if uncertain of the data type, use the ASCII format).
- ASCII (16 bit). ASCII data type (older version).
- Binary (LSByte First). Binary data type with the Least Significant (right-most) byte first.
- Binary (MSByte First). Binary data type with the Most Significant (left-most) byte first.
-
In the Resolution (bits) data field, type the number of binary steps within the data. For example, a 14-bit gauge would have 16,384 possible steps (2 raised to the power of 14).
This data field is required for all binary data types.
-
In the Full Scale Value data field, type the maximum range of the digital probe. For example, the Solartron DP5 has a full scale value (or range) of 5 millimeters (or 0.19685 inches).
This data field is required for all binary data types.
- In the Decimal Separator data field, type the character that separates decimals (typically a period (.) or a comma (,)).
-
(Optional) In the Record Start data field, select ASCII, and in the ASCII Character Values dialog box, select up to 15 characters that identify the beginning of a valid record. When finished, select OK.
If you leave the Record Start data field blank, Enact begins a new record immediately after the end of the previous record.
-
In the Record Length data field, type the number of characters that make up a valid record, which includes all characters except the Record Start and Record Terminator characters. If you leave the Record Length data field blank, Enact does not check record length.
Record Length is only required if the Record Terminator data field is blank.
For example, if you type 15, Enact considers the first 15 characters to be the complete record.
-
In the Record Terminator data field, select ASCII, and in the ASCII Character Values dialog box, select up to 15 characters that identify the end of a valid record. When finished, select OK.
The Record Terminator is only required if the Record Length data field is blank.
-
(Optional) In the Field Separator data field, select ASCII, and in the ASCII Character Values dialog box, select the character that separates the fields. When finished, select OK.
If you leave the Field Separator data field blank, Enact treats the fields as fixed-width format, which requires you to set character positions for each data field.
-
In the Multi Field Output Section, you can define a field for each value within the gauge's data stream, as follows:
- Item Name. Type the field identification name. Ensure the name is unique within the gauge interface type.
- Type. Select the field data type (Numeric or Textual).
- Field#. Type the comma- or tab-delimited field column in the data stream. For example, if the data stream contains five fields and the measurement value is in the second field, type 2 inside Field#.
- Start Position. Type the field's first character position in the data stream. If the data stream is not delimited, Enact begins counting from the beginning of the stream. For example, if the value begins at the fifth character, type 5 inside Start Position.
- Length. Type the length of the data field, counted from the defined Start Position. For example, if the value begins at the fifth character and ends with the eighth character, type 5 inside Start Position and type 4 inside Length.
- Sample. Enact displays the value using the current field settings.
- Send. To include the field's value in the collected data, select Send.
Define as many fields as you require for the gauge's data stream.
-
To exclude specific data from the gauge's data stream, do the following:
-
In the Multi Field Output Section, select Exclusion Rules.
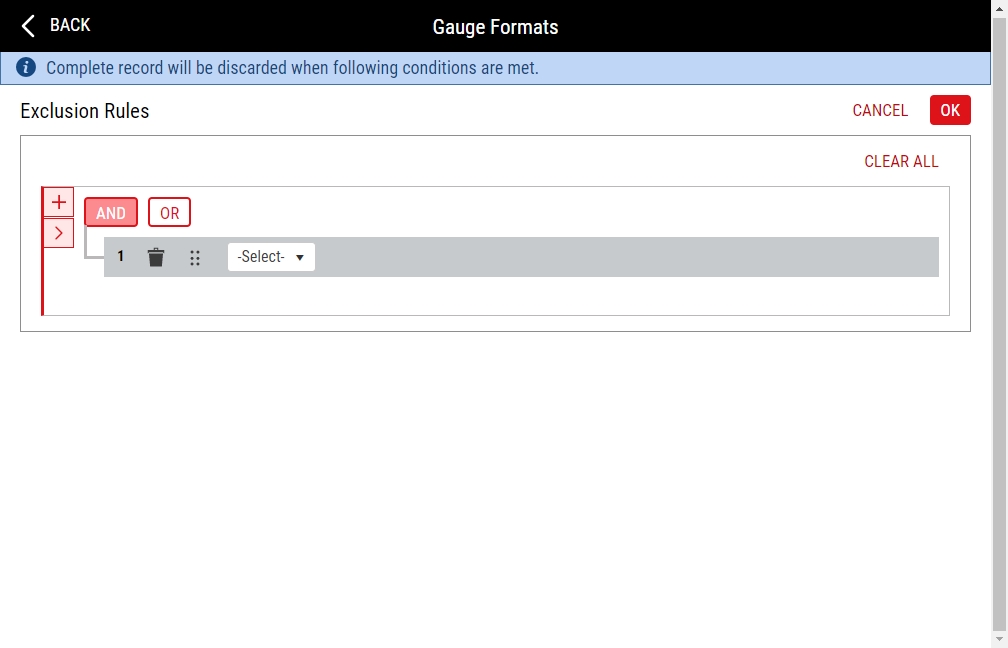
- Select Add. Enact adds the new exclusion rule at the same level as the previous exclusion rule (or at the root level if there are no other exclusion rule entries).
-
Select the desired boolean operation:
- AND. If all of the exclusion rule entries below are true, Enact excludes the data. Otherwise, Enact does not exclude the data.
- OR. If any of the exclusion rule entries below are true, Enact excludes the data. Otherwise, Enact does not exclude the data.
-
In the exclusion rule, do the following:
- In the field drop-down list, select the desired field from the Multi Field Output Section.
-
In the operator drop-down list, select the desired operator.
Operators
- =. Equals a specific value.
- <>. Does not equal a specific value.
- >. Greater than a specific value.
- <. Less than a specific value.
- >=. Greater than or equal to a specific value.
- <=. Less than or equal to a specific value.
- = [Field]. Equals another field from the Multi Field Output Section, selected in the second data field.
- <> [Field]. Does not equal another field from the Multi Field Output Section, selected in the second data field.
- > [Field]. Greater than another field from the Multi Field Output Section, selected in the second data field.
- < [Field]. Less than another field from the Multi Field Output Section, selected in the second data field.
- >= [Field]. Greater than or equal to another field from the Multi Field Output Section, selected in the second data field.
- <= [Field]. Less than or equal to another field from the Multi Field Output Section, selected in the second data field.
- Contains. Contains a specific value.
- To add additional exclusion rules at the same level, repeat the above steps.
- To add a new nested exclusion rule below the current level, select Nest, and then configure the nested exclusion rule using the above steps.
- To reorder the existing exclusion rules (when more than one exists), select and drag Reorder.
- To remove an existing exclusion rule, select Delete.
- Select OK.
-
-
You can test your gauge configuration, sending values from the gauge and reading the ASCII strings. However, you will only be able to do this if you opened the Gauge Formats page from the Gauge Devices page.
To open the Gauge Formats page from the Gauge Devices page, do the following:
- In the Gauge Devices landing page, select Create Gauge Device or select Edit for the desired gauge device.
- In the Gauge Format drop-down list, select Add or select an existing gauge format and then select Edit.
- In the Gauge Formats page, you can now test the gauge configuration, sending values from the gauge and reading the ASCII strings.
To test the gauge configuration, do the following:
You will only be able to test the gauge format while configuring the gauge device. During all other times, this section will be disabled.
-
Locate the gauge testing section.
-
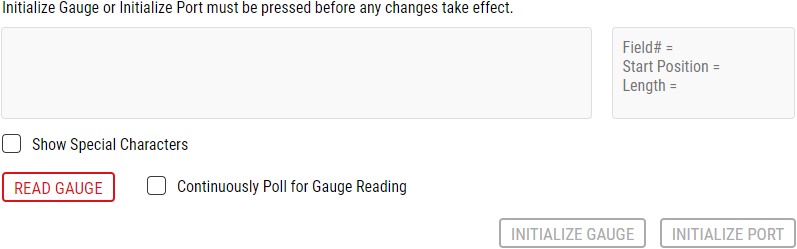
On your connected device, press SEND or DATA, and in the gauge testing section, select Read Gauge. Enact displays the raw data value and information about that data (the field number, the start position, and the field length).
To display special characters with the raw data, select Show Special Characters.
To automatically poll the connected device for the next measurement reading, select Continuously Poll for Gauge Reading.
Enact always disables the Initialize Gauge button and the Initialize Port button.
-
Advanced Tab
Under the Advanced tab, you can configure the gauge format advanced connection information, including Gauge Initialization, Measurement Initialization, Measurement Start, Measurement End, Measurement Read, Measurement Post, Measurement Request, Data Collection Start and Data Collection End.
-
To select characters that will be sent to initialize a newly selected gauge, do the following:
-
Select Gauge Initialization String.

- In the Gauge Initialization String column, type the gauge initialization string. To use ASCII codes, select ASCII, and in the ASCII Character Values dialog box, select the desired character(s). When finished, select OK.
- In the Delay (ms) column, type the interval (in milliseconds) that Enact waits prior to sending the string.
- To add additional strings, repeat the above steps.
To reorder strings (when more than one exists), select and drag Reorder.
To remove strings, select Delete.
For example, if you use <2><2><13>S<ID>[SN]<0>, Enact initializes a Solartron Probe by assigning ID to the included serial number ([SN]).
-
-
To select characters that will be sent to set the operation mode for the monitored characteristic prior to reading the gauge, do the following:
-
Select Measurement Initialization String.
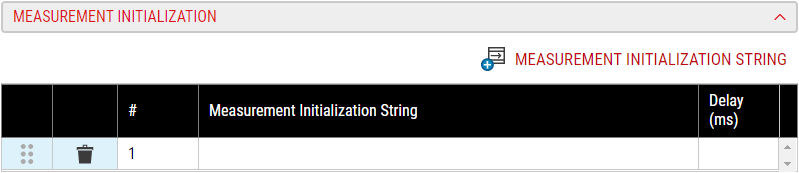
- In the Measurement Initialization String column, type the measurement initialization string. To use ASCII codes, select ASCII, and in the ASCII Character Values dialog box, select the desired character(s). When finished, select OK.
- In the Delay (ms) column, type the interval (in milliseconds) that Enact waits prior to sending the string.
- To add additional strings, repeat the above steps.
To reorder strings (when more than one exists), select and drag Reorder.
To remove strings, select Delete.
For example, you could put the gauge in static or dynamic modes of operation. If you use <2><2><2>F<ID>, Enact sets the Solartron Orbit Difference Mode (TIR).
-
-
To select characters that will be sent to the gauge to begin taking measurements in the dynamic mode of operation prior to reading the gauge, do the following:
-
Select Measurement Start String.

- In the Measurement Start String column, type the measurement start string. To use ASCII codes, select ASCII, and in the ASCII Character Values dialog box, select the desired character(s). When finished, select OK.
- In the Delay (ms) column, type the interval (in milliseconds) that Enact waits prior to sending the string.
- To add additional strings, repeat the above steps.
To reorder strings (when more than one exists), select and drag Reorder.
To remove strings, select Delete.
For example, if you use <0><2>O<0>, Enact starts the Solartron Orbit Difference Mode (TIR).
-
-
To select the characters that will be sent to the gauge to stop taking measurements in the dynamic mode of operation prior to reading the gauge, forcing the user to press READ twice, do the following:
-
Select Measurement Start String.

- In the Measurement End String column, type the measurement end string. To use ASCII codes, select ASCII, and in the ASCII Character Values dialog box, select the desired character(s). When finished, select OK.
- In the Delay (ms) column, type the interval (in milliseconds) that Enact waits prior to sending the string.
- To add additional strings, repeat the above steps.
To reorder strings (when more than one exists), select and drag Reorder.
To remove strings, select Delete.
For example, if you use <0><2>H<0>, Enact stops the Solartron Orbit Difference Mode (TIR).
-
-
To select the characters that will be sent to the gauge prior to reading the gauge, do the following:
-
Select Measurement Read String.
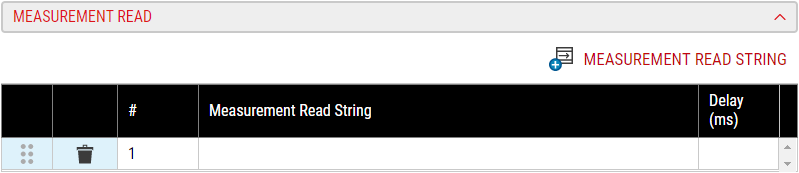
- In the Measurement Read String column, type the measurement read string. To use ASCII codes, select ASCII, and in the ASCII Character Values dialog box, select the desired character(s). When finished, select OK.
- In the Delay (ms) column, type the interval (in milliseconds) that Enact waits prior to sending the string.
- To add additional strings, repeat the above steps.
To reorder strings (when more than one exists), select and drag Reorder.
To remove strings, select Delete.
For example, if you use R1<13>, Enact transmits to the gauge the characters "R" and "1" followed by a carriage return.
-
-
To select the characters that will be sent to the gauge after a valid gauge reading, which puts the gauging device into a predefined state following a valid reading, do the following:
-
Select Measurement Post String.
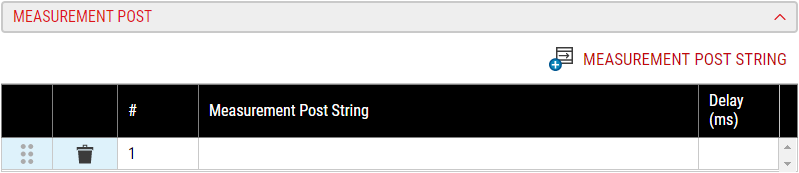
- In the Measurement Post String column, type the measurement post string. To use ASCII codes, select ASCII, and in the ASCII Character Values dialog box, select the desired character(s). When finished, select OK.
- In the Delay (ms) column, type the interval (in milliseconds) that Enact waits prior to sending the string.
- To add additional strings, repeat the above steps.
To reorder strings (when more than one exists), select and drag Reorder.
To remove strings, select Delete.
For example, if you use T1<13>, Enact transmits to the gauge the characters "T" and "1" followed by a carriage return.
-
-
To select the characters that the gauge sends to Enact, causing Enact to issue a read command (Measurement Read above), do the following:
-
Select Measurement Request String.

- In the Measurement Request String column, type the measurement request string. To use ASCII codes, select ASCII, and in the ASCII Character Values dialog box, select the desired character(s). When finished, select OK.
- In the Delay (ms) column, type the interval (in milliseconds) that Enact waits prior to sending the string.
- To add additional strings, repeat the above steps.
To reorder strings (when more than one exists), select and drag Reorder.
To remove strings, select Delete.
For example, if you type F, the gauge transmits to Enact the character "F."
-
-
To select the characters that indicate the beginning of a subgroup, do the following:
-
Select Data Collection Start String.

- In the Data Collection Start String column, type the data collection start string. To use ASCII codes, select ASCII, and in the ASCII Character Values dialog box, select the desired character(s). When finished, select OK.
- In the Delay (ms) column, type the interval (in milliseconds) that Enact waits prior to sending the string.
- To add additional strings, repeat the above steps.
To reorder strings (when more than one exists), select and drag Reorder.
To remove strings, select Delete.
-
-
To select the characters that indicate the end of a subgroup, do the following:
-
Select Data Collection End String.
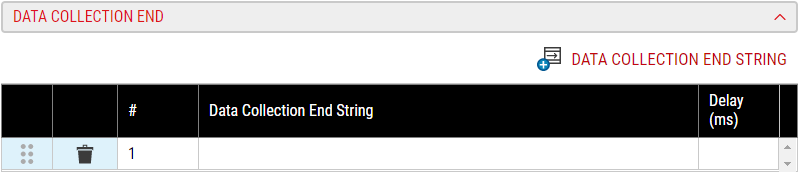
- In the Data Collection End String column, type the data collection end string. To use ASCII codes, select ASCII, and in the ASCII Character Values dialog box, select the desired character(s). When finished, select OK.
- In the Delay (ms) column, type the interval (in milliseconds) that Enact waits prior to sending the string.
- To add additional strings, repeat the above steps.
To reorder strings (when more than one exists), select and drag Reorder.
To remove strings, select Delete.
-
-
-
- Select Save, or select Save & Close to save and close the page.


