Installing Gauge Agent
Using this procedure, you will install the Gauge Agent on your local workstation or server.
- On the computer, log in as system administrator, and then browse to the save location for the Gauge Agent installer executable (for example, the Windows Downloads folder).
-
Launch the Gauge Agent installer executable.

-
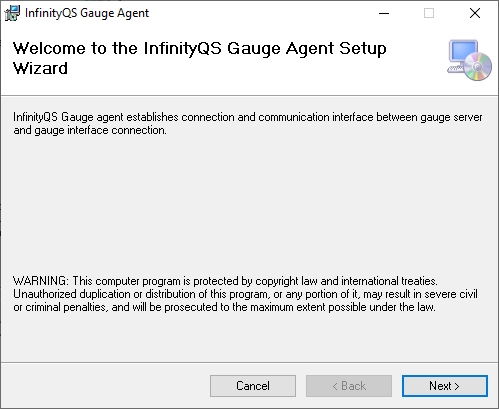
In the Welcome screen, select Next.

-
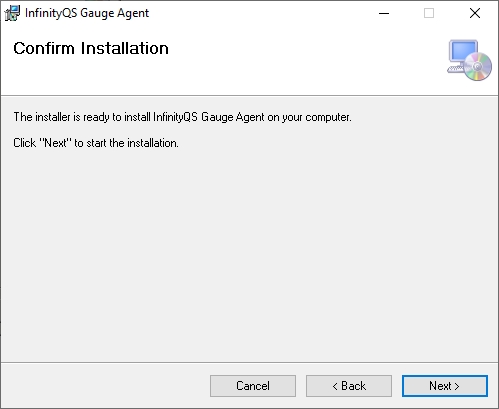
In the Confirm Installation screen, select Next.
The Gauge Agent Authentication Login screen also opens. You will configure this screen below.

-
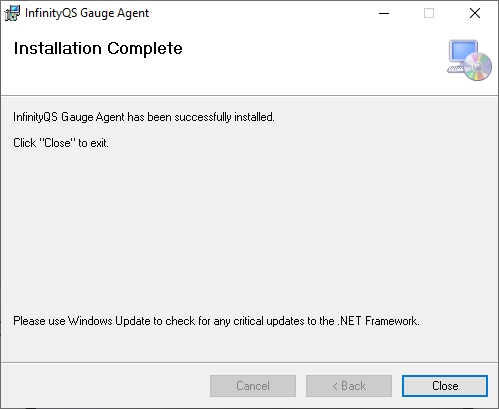
Select Close.
You must locate and close the Installation Complete screen before proceeding with the next steps. If the Installation Complete screen has lost focus or becomes hidden behind another window, you MUST locate the Installation Complete screen and select Close.
Do not continue with the next steps until you close the Installation Complete screen.
-
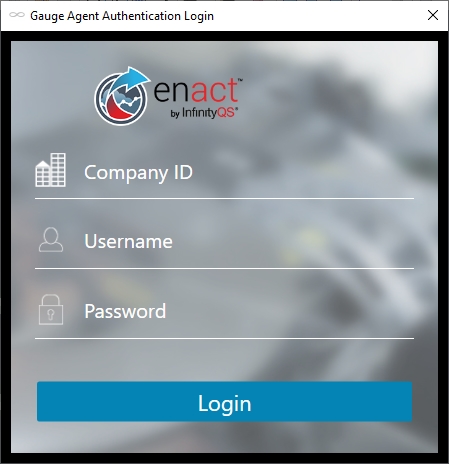
In the Gauge Agent Authentication Login screen, do the following:

- In the Company ID data field, type the Enact company identifier.
-
In the Username and Password data fields, type your Enact username and password, and then select Login.

-
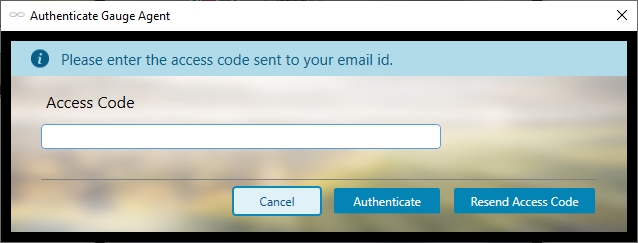
In the Authenticate Gauge Agent dialog box, do the following:
-
In the Access Code data field, type the access code sent to your email address, with the subject line, "Here is your Enact Access Code."
The access code should arrive within one minute. If you do not receive your access code, do this following in this order:
- Examine the Spam or Junk Mail folders in your email account.
- Select Resend Access code.
- Contact your Enact administrator to verify your user account has the correct email address.
-
Select Authenticate.
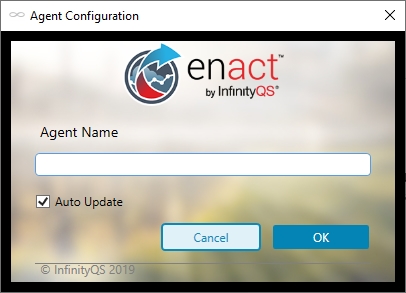
Before using Gauge Agent, you must configure the software in the Agent Configuration dialog box, providing the name of the Enact tenant to which Gauge Agent connects and authenticating this instance of Gauge Agent through the Gauge Agent Authentication Login dialog box, which opens immediately after you complete the installation.
If the Agent Configuration dialog box closes before you complete all the configuration steps, you must relaunch it manually using one of the following methods:
- Select Start | Gauge Agent | InfinityQS.AgentAutoUpdater. Be sure to right click the shortcut and then select Run as administrator.
- Launch the Gauge Agent installer executable. Be sure to right click the installer executable and then select Run as administrator.
Once relaunched, you must complete all the configuration steps.
-
-
In the Agent Configuration dialog box, do the following:

- In the Agent Name data field, type the Gauge Agent name.
- To configure Gauge Agent to automatically update with each new version, select Auto Update.
- When finished, select OK.
-
Using a text editor, browse to the C:\Program Files (x86)\InfinityQS International\Enact\GaugeAgent folder and open the InfinityQS.Enact.AgentService\App.config file.
-
In the the InfinityQS.Enact.AgentService\App.config file, set the value of the UseSystemProxySetting parameter to true, as follows:
<!--Use system proxy settings-->
<add key="UseSystemProxySetting" value="true"/>By default, Gauge Agent will use the Windows proxy settings to send data. To manually configure the proxy settings, modify the other parameters in the configuration file, as required.
<!--Proxy address with proper url format. eg http://10.10.0.1:8888-->
<add key="ProxyAddress" value=""/>
<!--Authenticated User for above address-->
<add key="ProxyUser" value=""/>
<!--Authenticated User Password for above address-->
<add key="ProxyPassword" value=""/> -
In your text editor, save the changes.