Creating Code Groups
Using this procedure, you will create the code group.
Enact automatically updates weights for codes every 10 minutes, which means there will be a slight delay before you see recent changes.
- Select Access Menu and then select Feature | Code Groups.
-
In the Code Groups landing page, select Create Code Group.
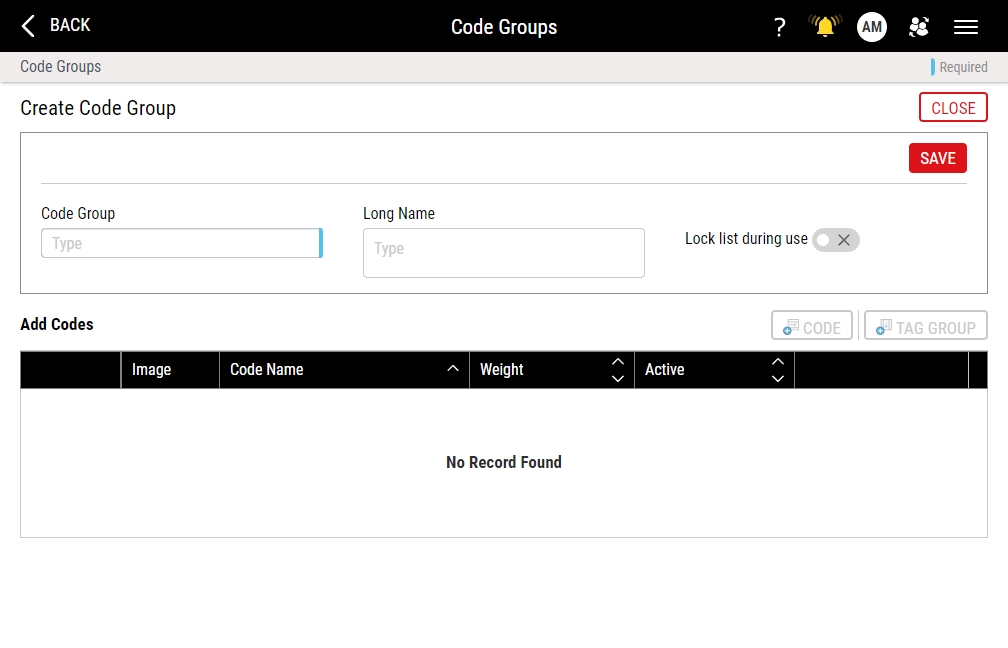
- In the Code Group data field, type the code group name.
- In the Long Name data field, type the extended name of the code group.
- To prevent users from adding new codes during data collection, activate the Lock list during use slider.
-
Select Save.
To add new codes, you must first save the code group.
-
To add a new code, select Code, and then do the following:
- In the Code Name data field, type the code name.
-
To configure the code group image, locate the optional image item, and then do one of the following:
- To upload an image when no image currently exists, select More, select Upload Image, and then browse to the new image (maximum image size 600 KB; file types JPG, GIF, PNG, BMP).
- To change an existing image, select More, select Change Image, and then browse to the new image (maximum image size 600 KB).
- To remove an existing image, select More and then select Remove Image.
InfinityQS recommends resizing images to an aspect ratio of 4:3 (for example, 160 pixels wide by 120 pixels tall).
- In the Weight column, type the weight of the code. If the Weight of the selected defective code equals 0 (zero), the piece passes. If the Weight of the selected defective code is greater than 0 (zero), the piece fails.
-
To activate the code, activate the Active slider.
To deactivate the code, deactivate the Active slider.
- Select Save, or select Save & Create Another to save the code and immediately create another code.
-
To edit an existing code, select Edit, and then do the following:
- In the Code Name data field, type the code name.
-
To configure the code group image, locate the optional image item, and then do one of the following:
- To upload an image when no image currently exists, select More, select Upload Image, and then browse to the new image (maximum image size 600 KB; file types JPG, GIF, PNG, BMP).
- To change an existing image, select More, select Change Image, and then browse to the new image (maximum image size 600 KB).
- To remove an existing image, select More and then select Remove Image.
InfinityQS recommends resizing images to an aspect ratio of 4:3 (for example, 160 pixels wide by 120 pixels tall).
- In the Weight column, type the weight of the code. If the Weight of the selected defective code equals 0 (zero), the piece passes. If the Weight of the selected defective code is greater than 0 (zero), the piece fails.
-
To activate the code, activate the Active slider.
To deactivate the code, deactivate the Active slider.
- Select Save.
-
To remove an existing code, select More and then select Remove. In the Remove Code dialog box, select OK.
-
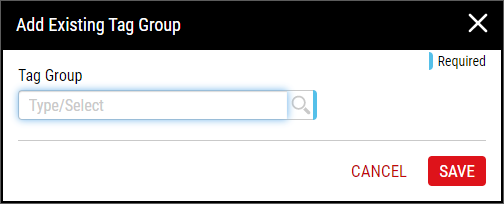
Using tags, you can provide additional characteristics to further identify the code group. To add tags to the code group, do the following:
- Select Save, and then select Close to close the page.