Creating Process Models
Using this procedure, you will create the process model.
- Select Access Menu and then select Data Collection | Process Models.
-
In the Process Models landing page, select Create Process Model.
-
To configure the process model image, locate the optional image item, and then do one of the following:
- To upload an image when no image currently exists, select More, select Upload Image, and then browse to the new image (maximum image size 600 KB; file types JPG, GIF, PNG, BMP).
- To change an existing image, select More, select Change Image, and then browse to the new image (maximum image size 600 KB).
- To remove an existing image, select More and then select Remove Image.
InfinityQS recommends resizing images to an aspect ratio of 4:3 (for example, 160 pixels wide by 120 pixels tall).
-
To rename the process model, do the following:
-
In the process model, locate and select the process model name in the upper left hand corner.
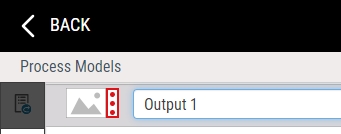
- Type the desired process model name, and then select anywhere on the process model to commit the change.
-
-
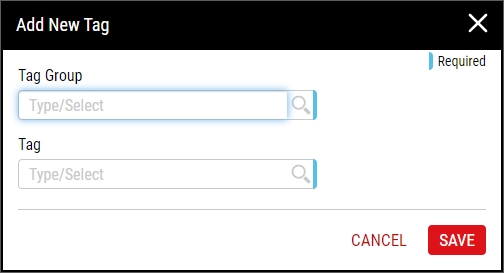
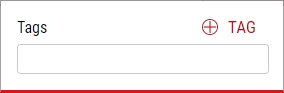
Using tags, you can provide additional characteristics to further identify the process model. To add tags to the process model, do the following:
-
In the toolbar, select Add Tag.
-
-
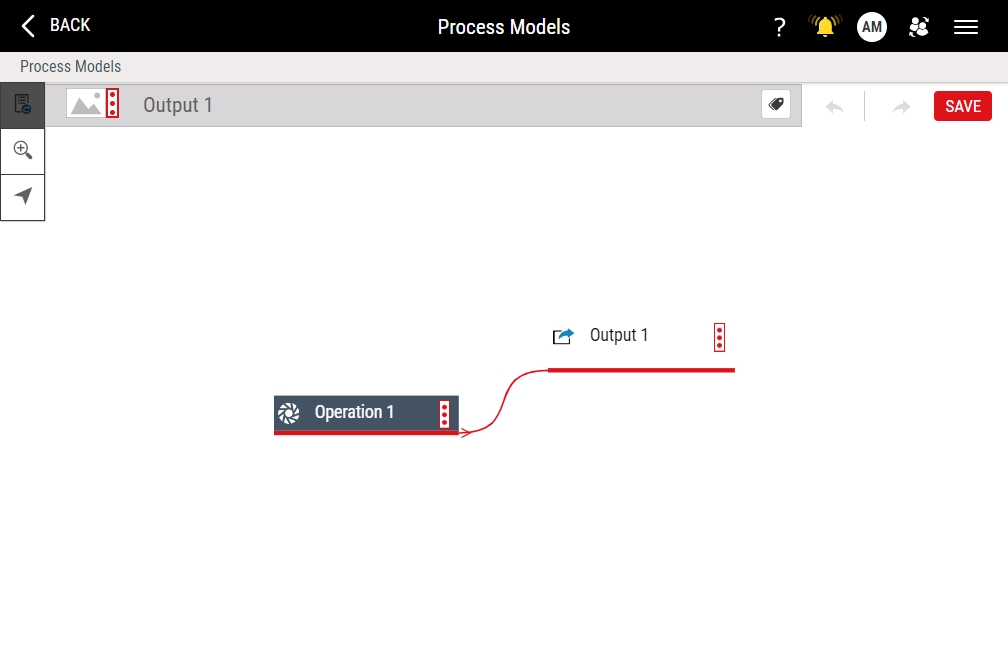
To expand the complexity of your process model, do one or more of the following:
-
Adding Operations
-
Adding Part Families
Repeat the above steps as many times as you need additional operations, input part families, or output part families.
-
-
In the Process Models page, do the following:
- Select each operation (for example, Operation 1), type the name of your operation, and then select anywhere on the process model to commit the change.
- Select each input part family name (for example, Input 1), type the name of your input part family, and then select anywhere on the process model to commit the change.
- Select each output part family name (for example, Output 1), type the name of your output part family, and then select anywhere on the process model to commit the change.
-
In each input part family, select More and then select Part Family Details.
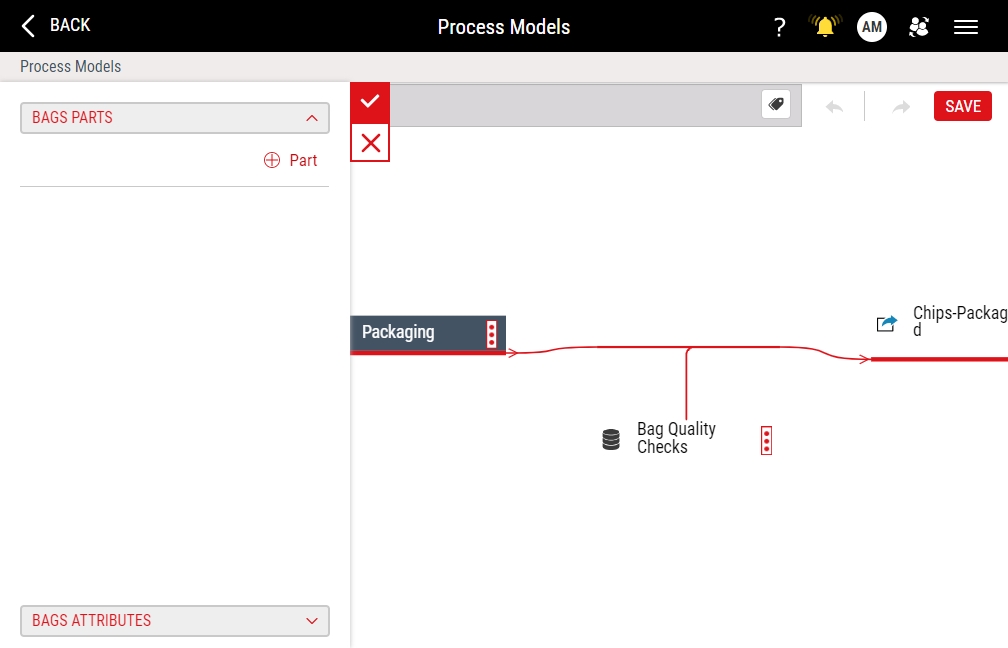
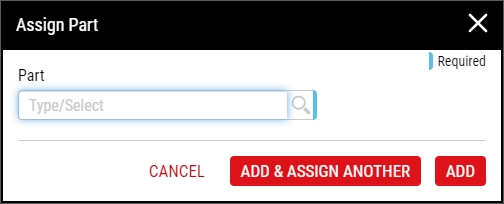
To add parts to the input part family, do the following:
-
In each output part family, select More and then select Part Family Details.
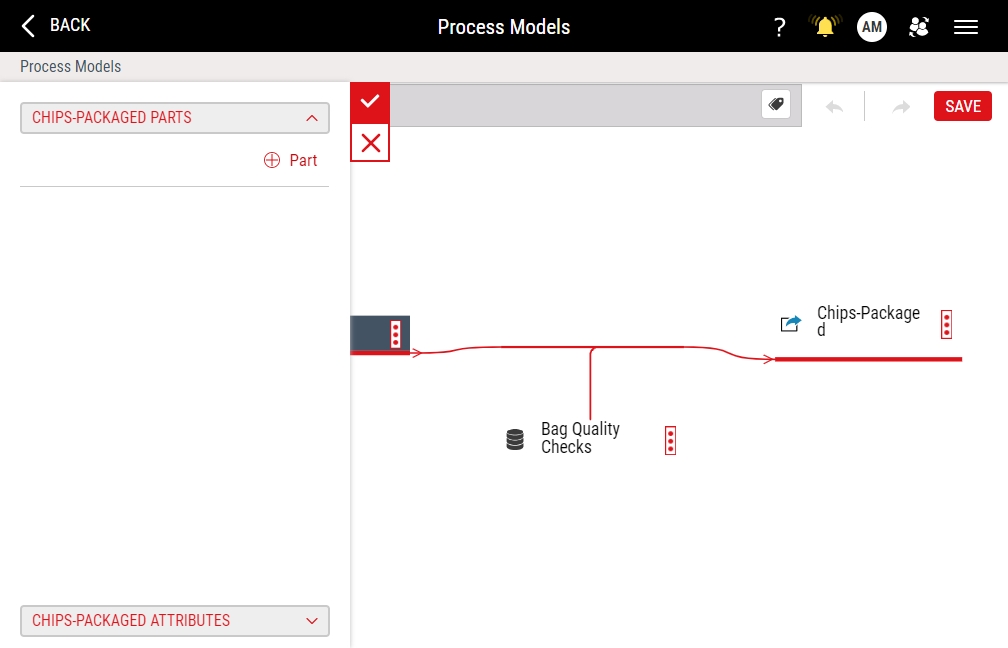
To add parts to the output part family, do the following:
- Select Apply and then select Save.